History
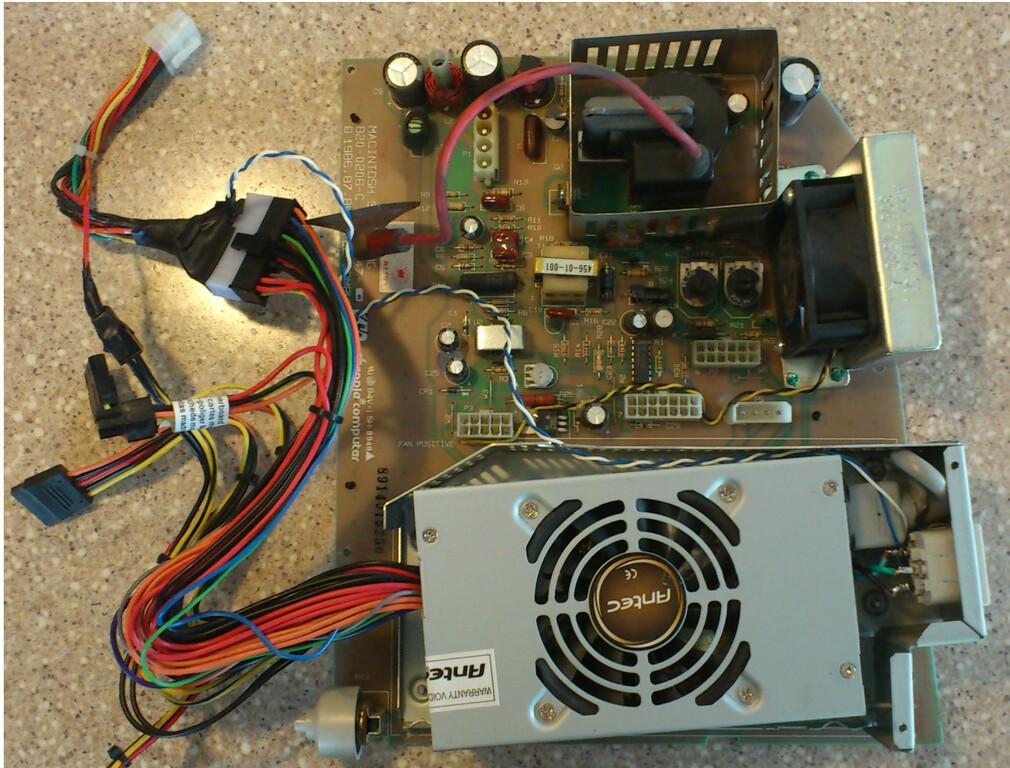
After 20 years... To the year actually, the power supply on my SE is finally starting to show it's age. First it started with screen jitters and now the HDD won't spin up. A quick look at the Repair Macintosh SE/30 pages indicated that my PSU was slowly dying.
Now I could replace it but a new supply is about $70 and Macintosh SE's on Ebay are getting expensive these days. This is only going to get worse as the years progress so another source of power is going to beome necessary eventually.
ATX power supplies are easy to come by, cheap and come in a variety of sizes if you know where to look. The Macintosh SE has very simple power requirements that most ATX supplies can easily match or exceed.
The SE and SE/30 are pretty much identical in terms of their analog components so this hack can be used on both.
Selecting The Right ATX PSU
It shouldn't be too hard but it is important to find a PSU with the proper power outputs. This is what my original PSU told me it's power outputs were:
V1 = +5V 6AAs long as you find a supply that can provide these requirements you should be just fine. By today's standards, the SE and SE/30 are toys.
V2 = +12V 1.25A
V3 = +12V 2.1A
V4 = -12V 0.5A
Additionally find a supply that has the same or lesser physical dimensions than the SE PSU. This way you can neatly fit the PSU in the space where the old one resided and close up the case properly.
Pinouts
|
| ||||||||||||||||||||||||||||
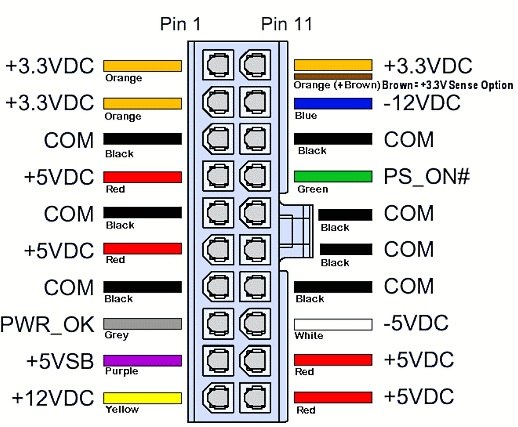


As you can see from the pinouts the connections are pretty straight forward. Just match the corresponding power levels and splice together. You will notice that we are one +12V wire short. You can steal one +12V line from one of the drive connectors on the ATX PSU.
Beware however that on the SE there are two different 12V rails. One for the motherboard and HDD and the other for the CRT. If your PSU has two 12V power rails, place the 12V sweep on the second rail as shown in the image to the right.
For a quick and dirty hack, just clip off the male 10 pin connector from your dead SE PSU and splice the wires to the ATX PSU after clipping off the ATX 20 Pin male connector.
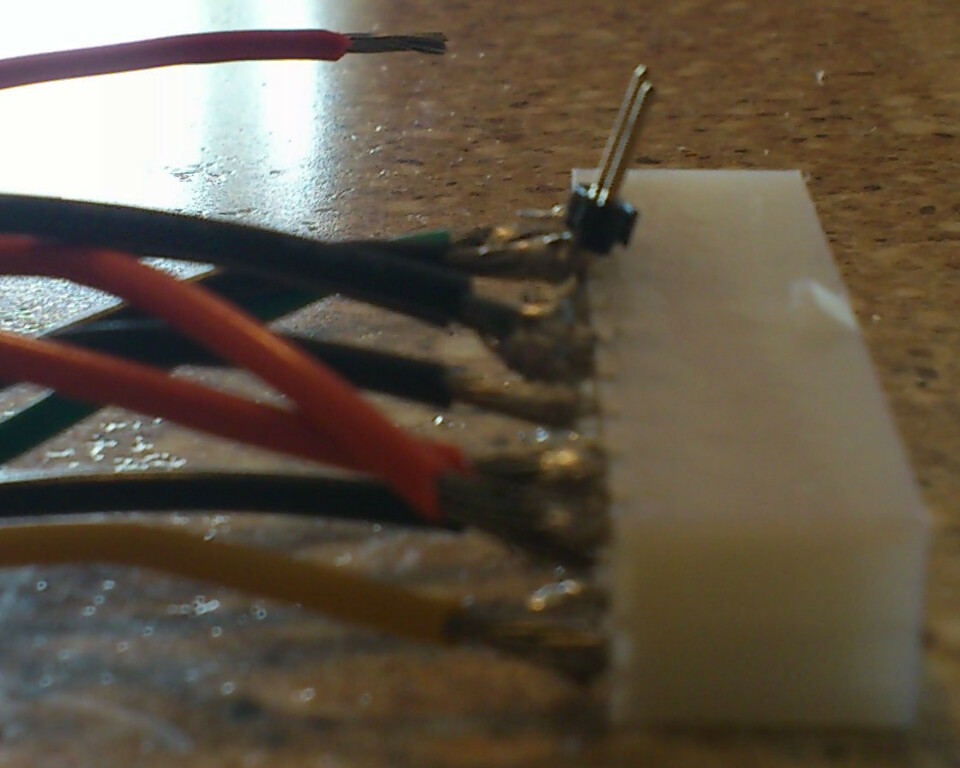
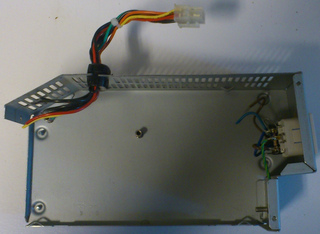
If you wish to preserve the ATX supply you'll have to fashion some sort of wire harness like I did on the right. To build this I removed a ATX Header from a broken motherboard and soldered the wires from the old supply to the header.
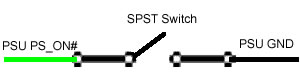
The other detail is providing a rocker switch to turn on the ATX supply. The PS_ON# wire need to be grounded in order for the ATX PSU to stay on. A simple SPST switch will do the trick for this. Here's the circuit below.
Making It Look Good
If you've chosen the right PSU you'll be able to fit the new ATX supply inside the the gutted shell of the old PSU. You'll notice that the original PSU has some odd angles unlike your typically cubish ATX supply so we need a way to fix this.
Start by gutting the old supply but leave the power switch, power connector and of course use the old 10 pin connector and wires for your wire harness.
Using a dremel with a cutoff wheel or other grinder, remove the standoffs that held the old circuit board in place. Use your soldering iron to remove any bits of wire attached to the power connector and power switch.
Cut off the end of a power cable and solder the three wires to match the three wires on the power connector. Solder a couple of wires from the power switch and use them with your wire harness to make your permanent power switch.
Hopefully once you're done this you'll be able to fit your new ATX PSU inside the gutted case. Use some epoxy to glue the PSU in place. Done!

Documents
SE/30 Analog Board 1 (GIF)
SE/30 Analog Board 2 (GIF)
Links
FDHD (More links to other references on this page)
Last Updated: April 2, 2022