Introduction
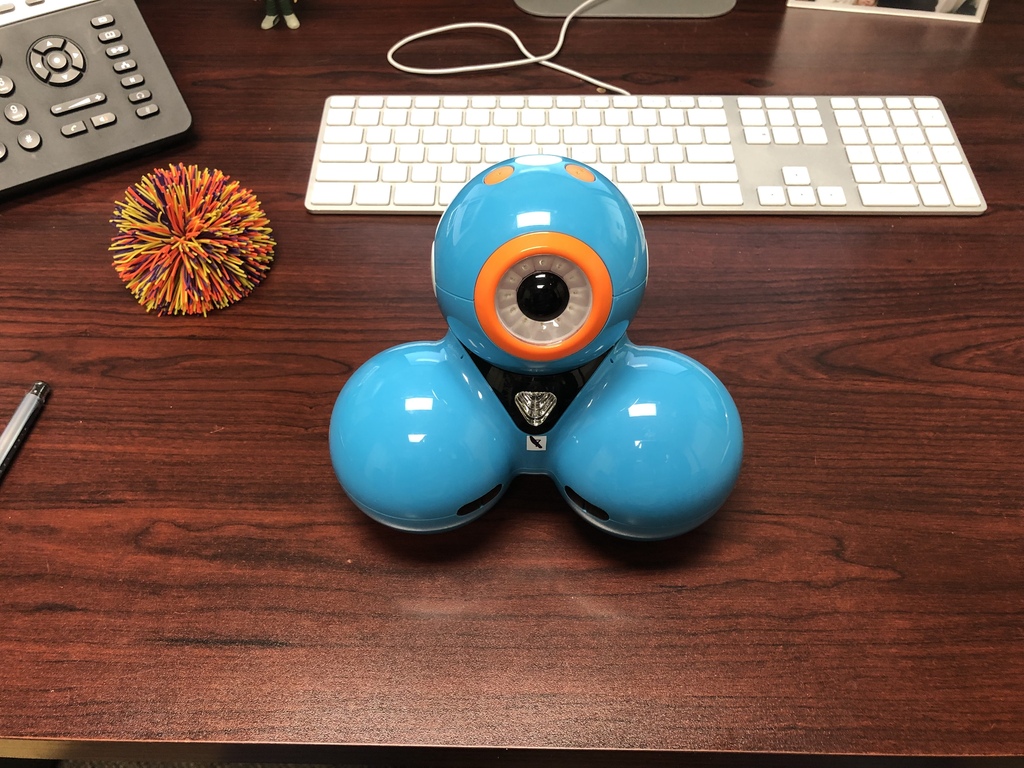
At work we have a fleet of Wonder Dash robots that we purchased about six years ago. They're great little robots for kids to learn block coding with but sadly after pretty constant use their batteries are all giving up the ghost.
After doing a bunch of searching online, everywhere it seems to say that replacing the battery pack is impossible. However.... This is not technically true! It just takes some patience and a few simple tools! So far we've fixed 5 and we're well on our way to retrofitting our whole fleet with uprated batteries for another six years.
Tools Required
For this hack I used:
1 T10 Torx driver
1 #1 Philips driver
1 Exacto Knife
1 Multimeter
Electical tape
2 Small washers
1 18560 3.6V Lithium Ion Cell.
Surgery
Hi there Dash... I'm going to rip out your dead battery and hopefully not wreck you in the process...
There are eight T10 Torx screws, 6 long and two short ones at the back.
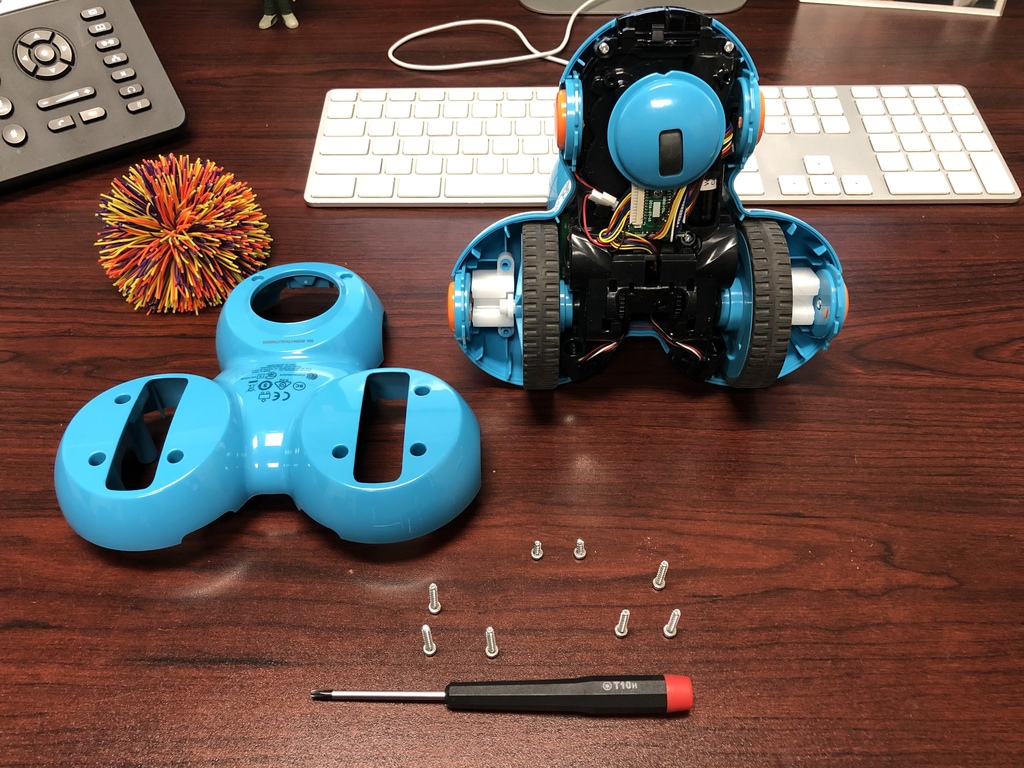
Remove the four little plastic thingys.

Remove the three Phillips screws holding on the top cover.
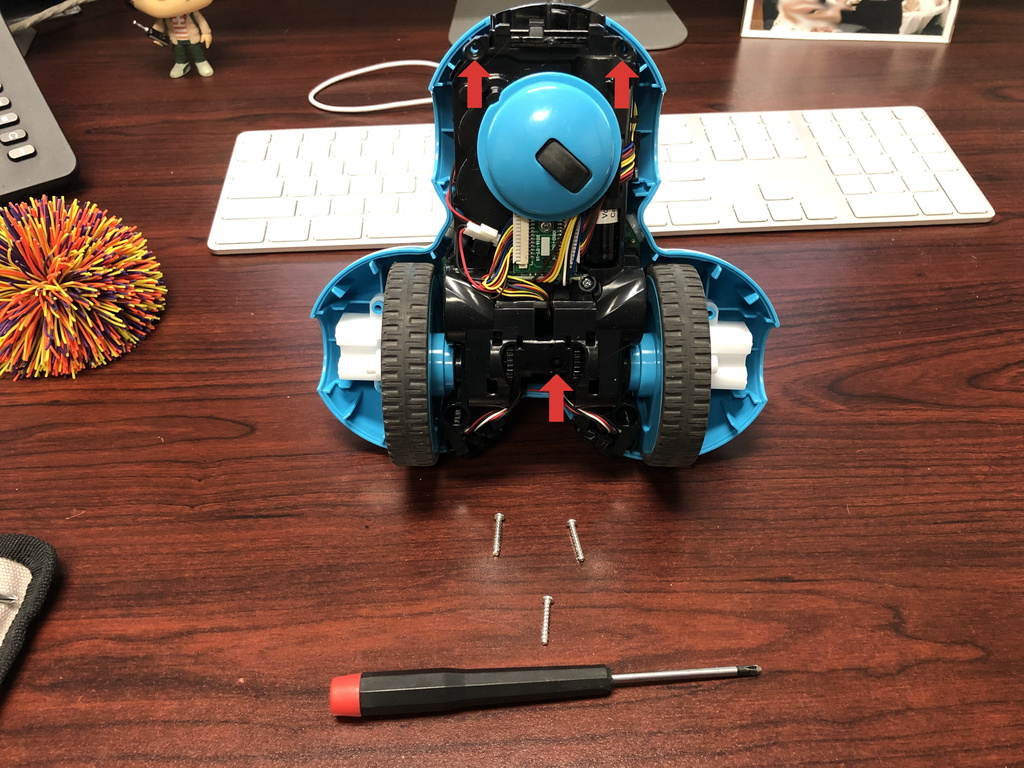
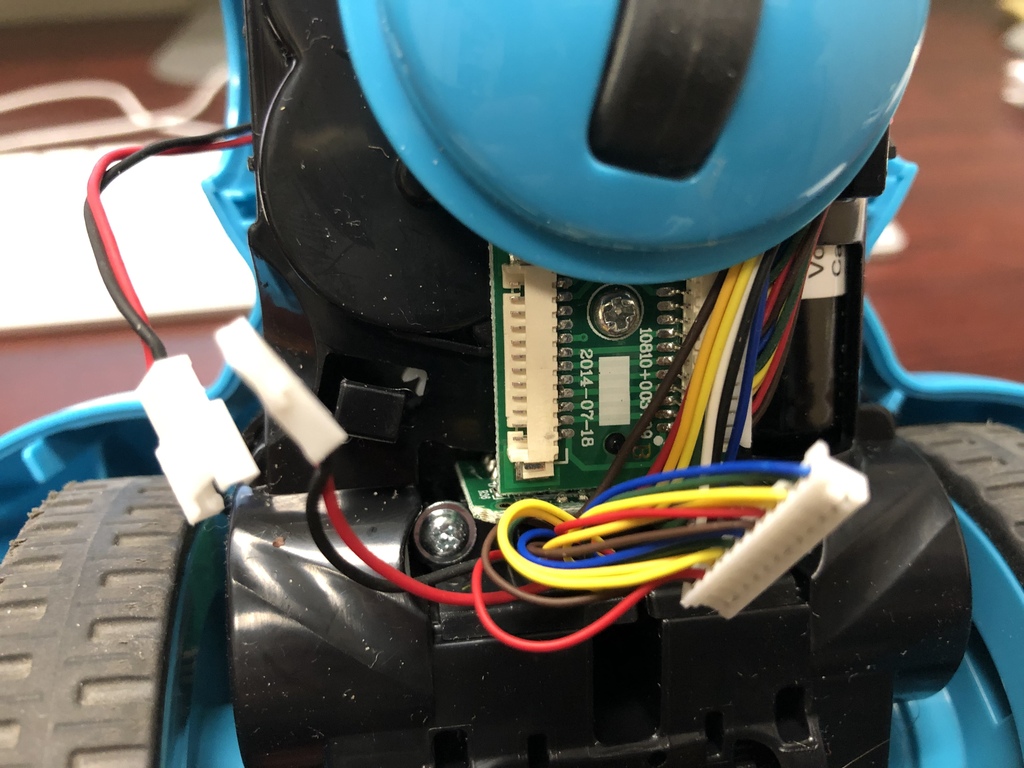
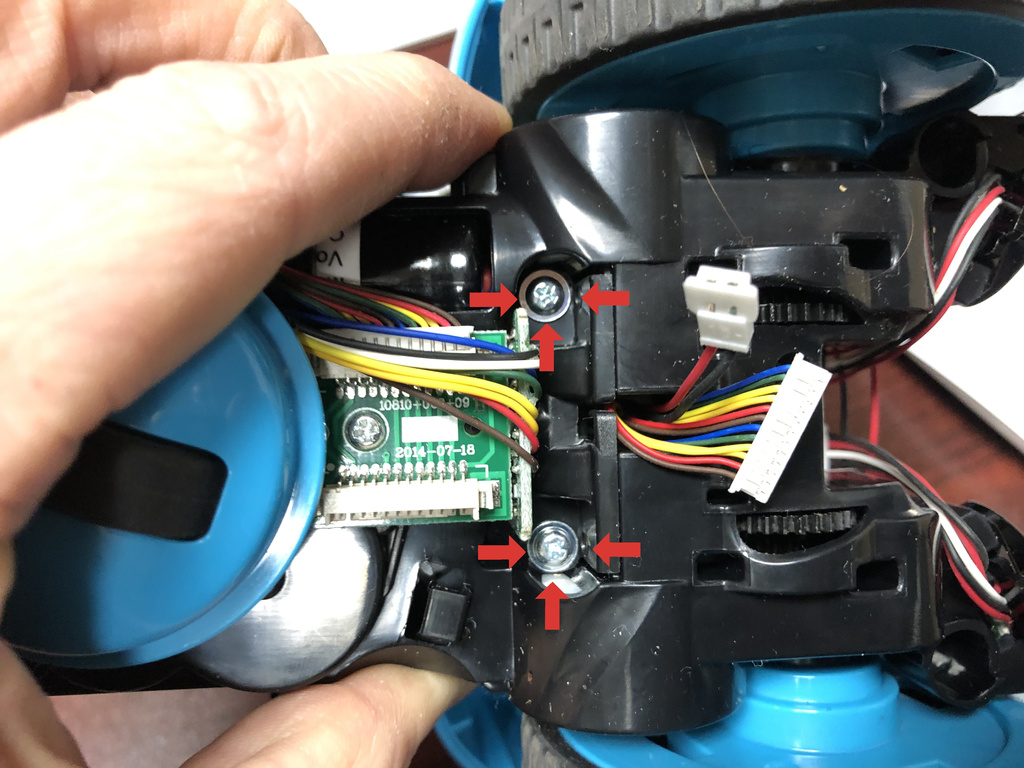
Unplug the two cables connecting the head motor and sensors.
Remove the two screws here too. Also, fish the two cables from the previous step back into the hole from whence it came!
With some fiddling the top of the dash should separate from the base. Carefully remove the wire connectors from the rear of the robot.
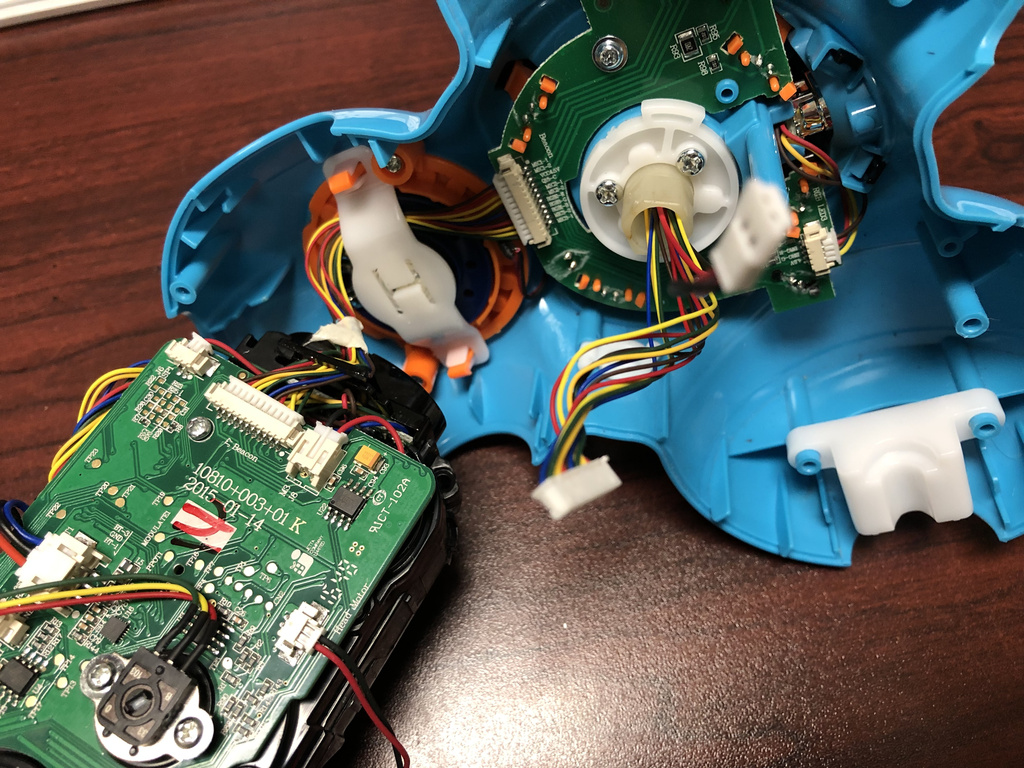
Remove all the connecting cables from the motherboard.
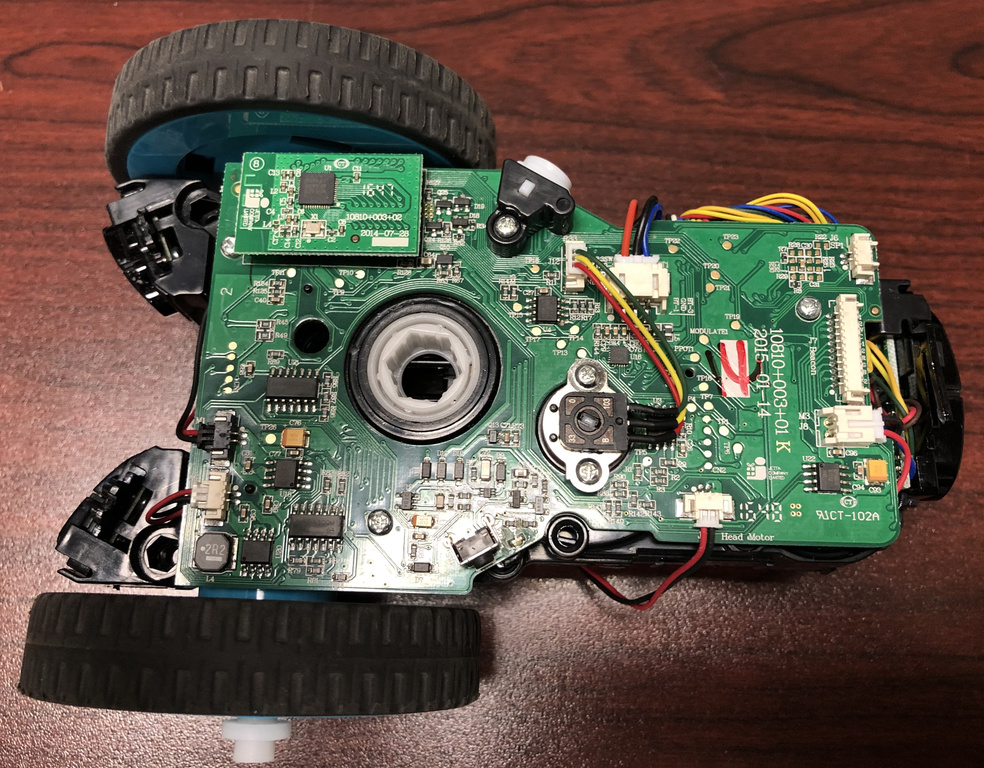
Remove the six screws holding down the motherboard to the base.
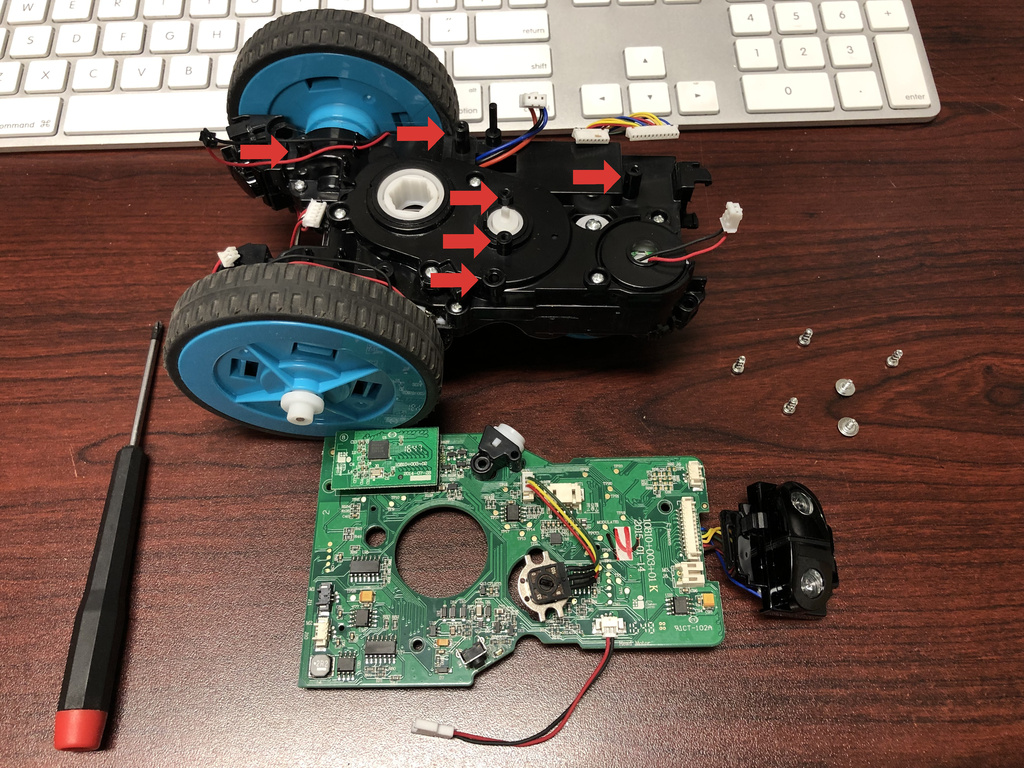
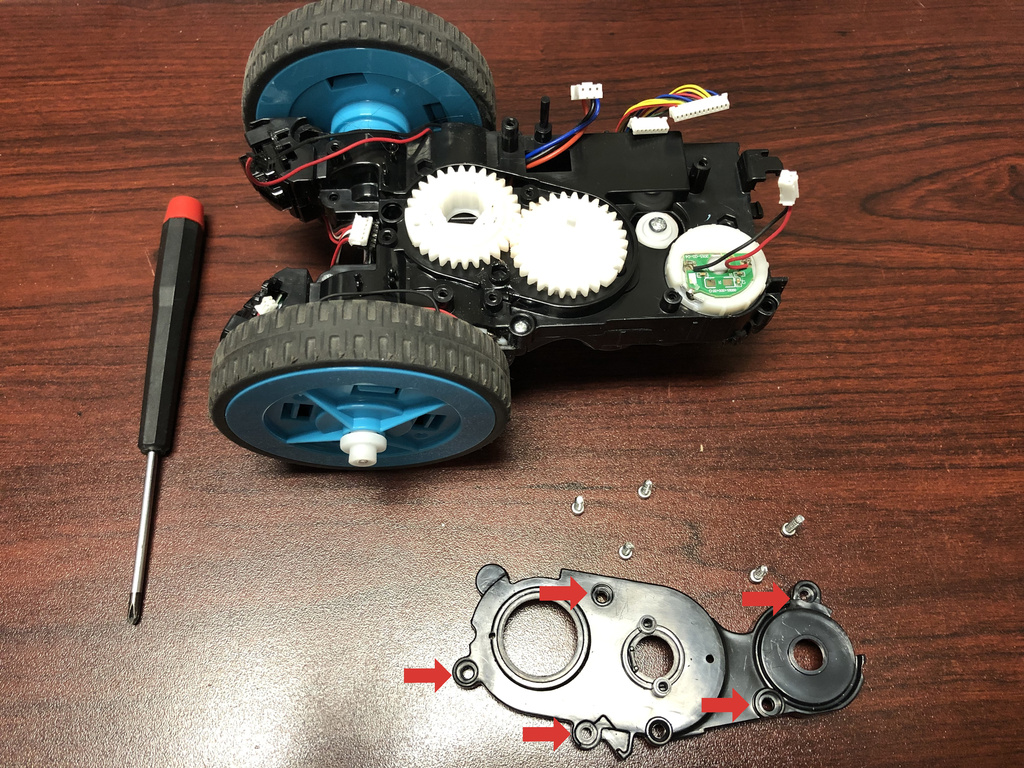
Remove the five screws holding the head gear assembly together. Once the cover is removed, pay special attention to the orientation of the gears. There are two ring washers on the gear with the big centre hole and a small one on the other main gear.
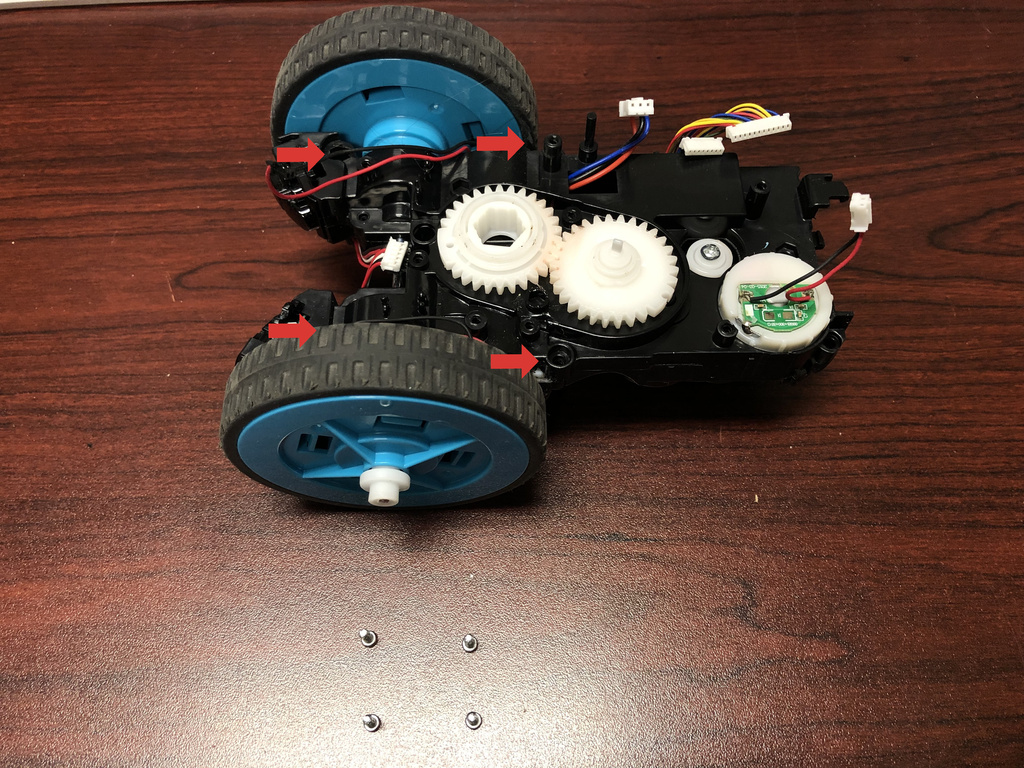
Remove the four screws holding the base halves together. Separate the tabs at the back and carefully pull the base in half.
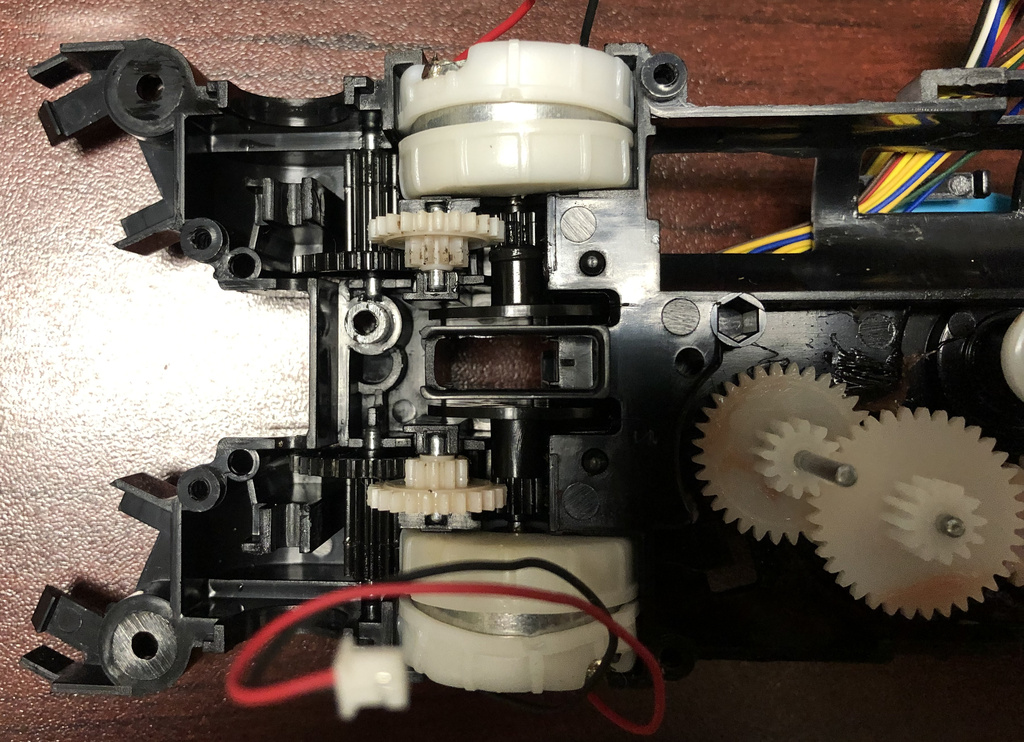
If you were careful like me, your Dash probably just exploded parts everywhere... Sigh.. Wheels and gears everywhere! This is how the front wheel gear assembly should look after tracking down the parts.
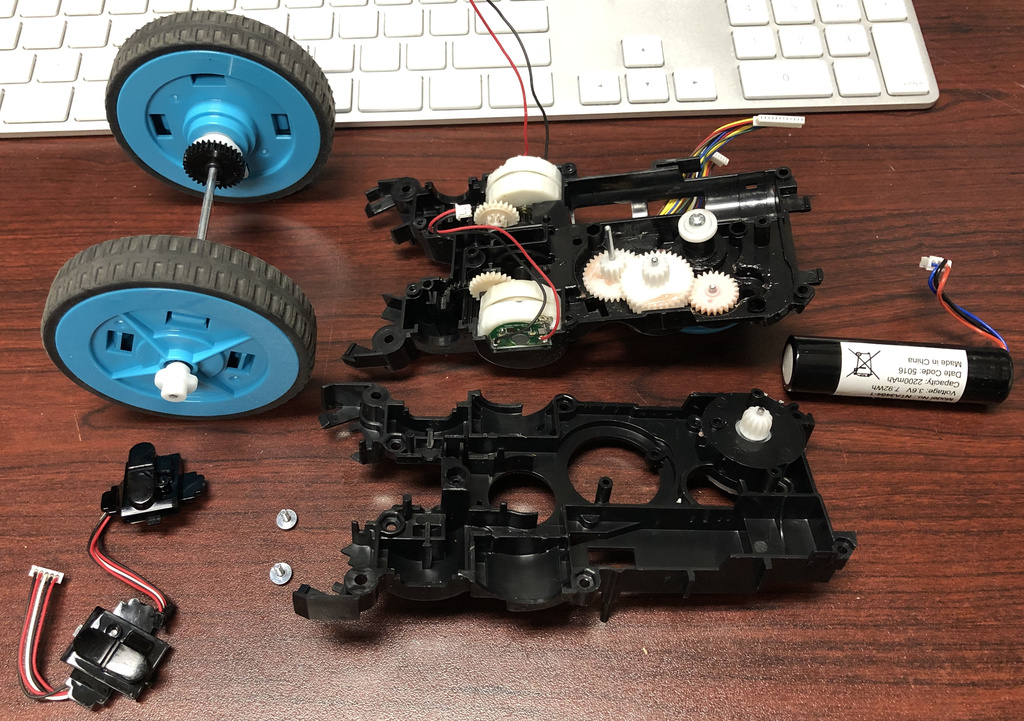
There you go... All apart.
Next up! Onward to the battery pack. Dash Battery Part II
Last Updated: April 3, 2022