Replacing A Dash Robot Battery Part II
WARNING!!: This tutorial involves messing around with Lithium Ion battery cells which can explode if punctured or abused. Proceed at your own risk!If you somehow ended up here instead of at Part I please see Part I first
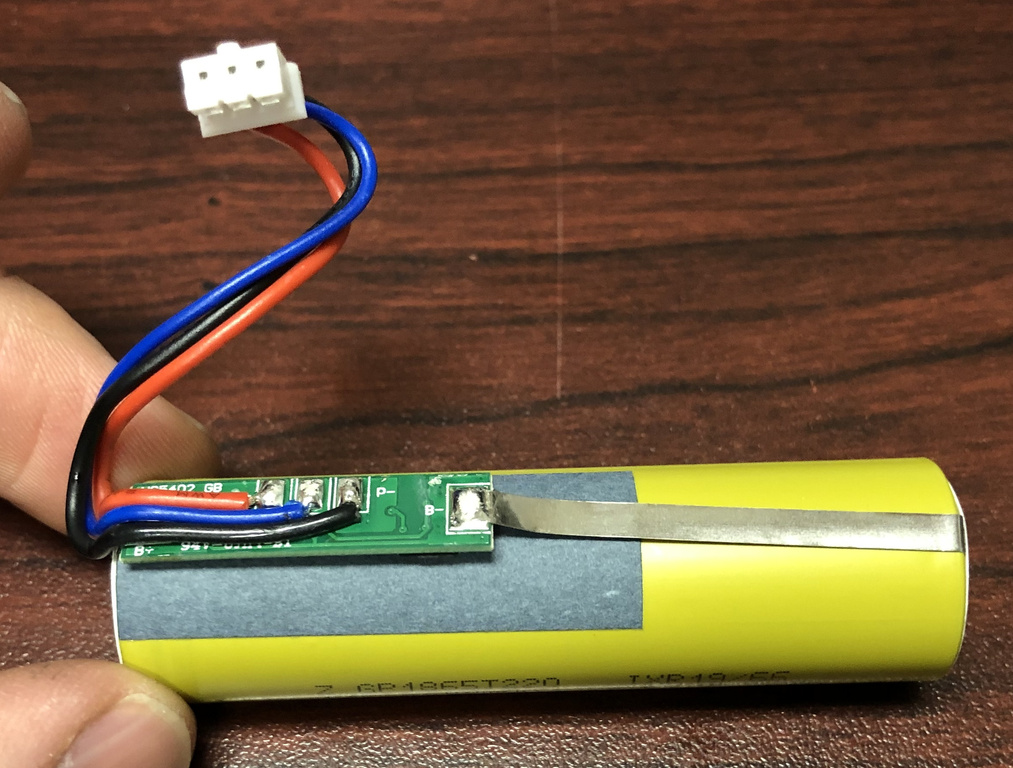
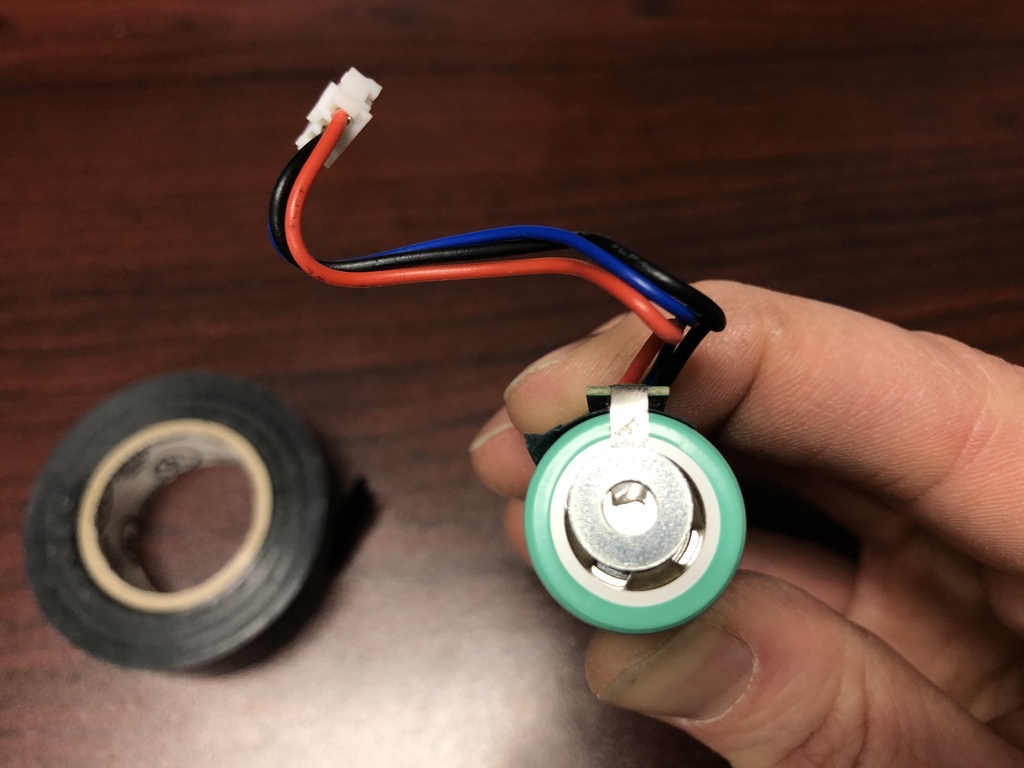
This is the battery pack... Oooh very official. Can't tell what this is ;-)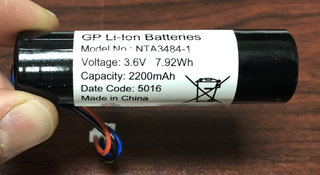
Pick off the plastic wrap. Voila! We have a 18650 attached to a charge controller.
K. Here's the dangerous part. The charge controller is tack welded to the terminals of the battery. Thankfully these tack welds aren't too bad to deal with. Use the exacto knife to pick off the welds to release the controller. Be careful not to puncture the battery in any way.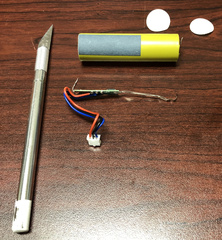
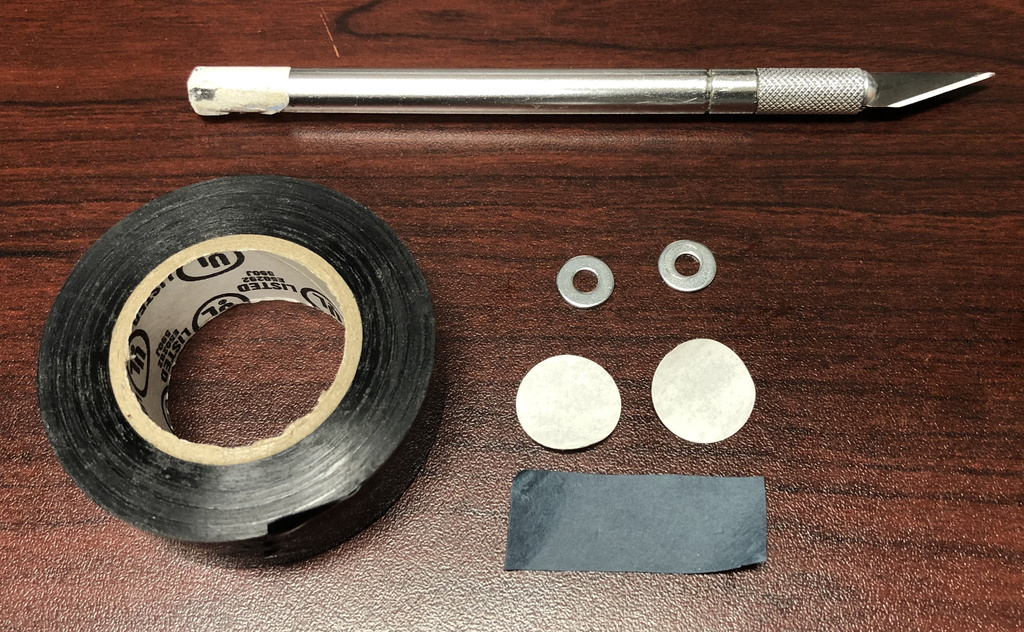
Here's what we need to build ourselves a battery pack. I've found it difficult to solder the tabs of the controller to a new battery. Instead I'm using a couple of small washers to hold the tabs in place and then wrapping the ends tightly in electrical tape. The two paper circle stickers and the rectangular ones are retained from the old battery for insulation.
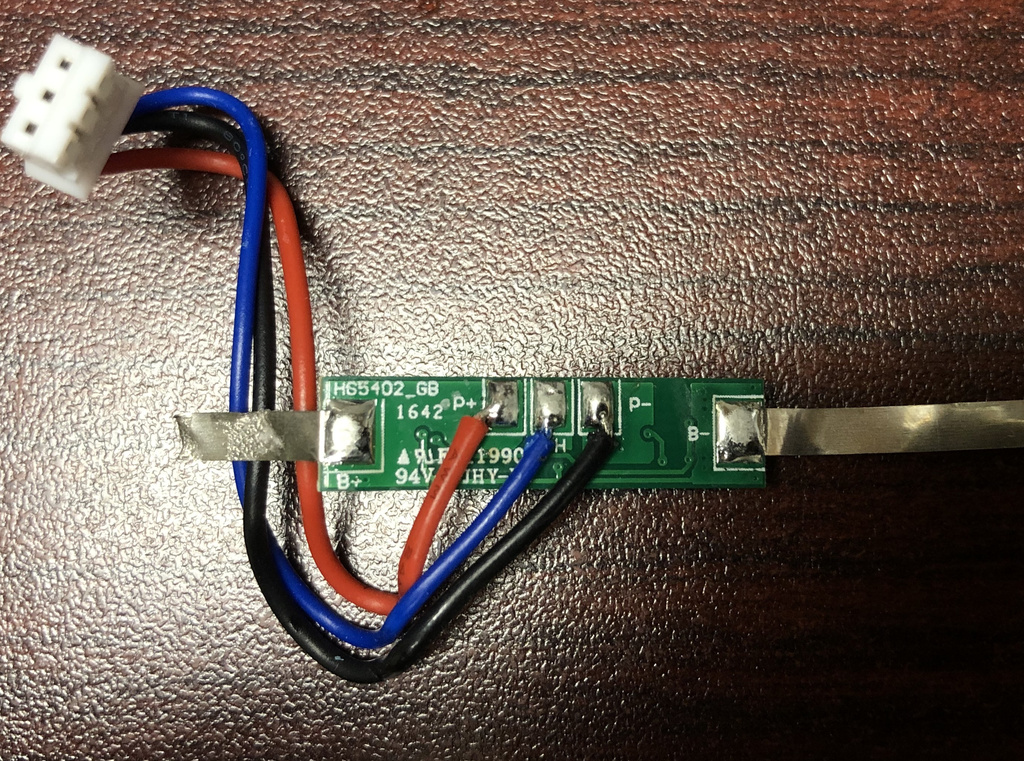
Note Carefully the orientation of the charge controller. As you can see in the image, there is a B+ for battery positive and B- for battery negative. When building your new pack, make sure that these align properly with the new cell.
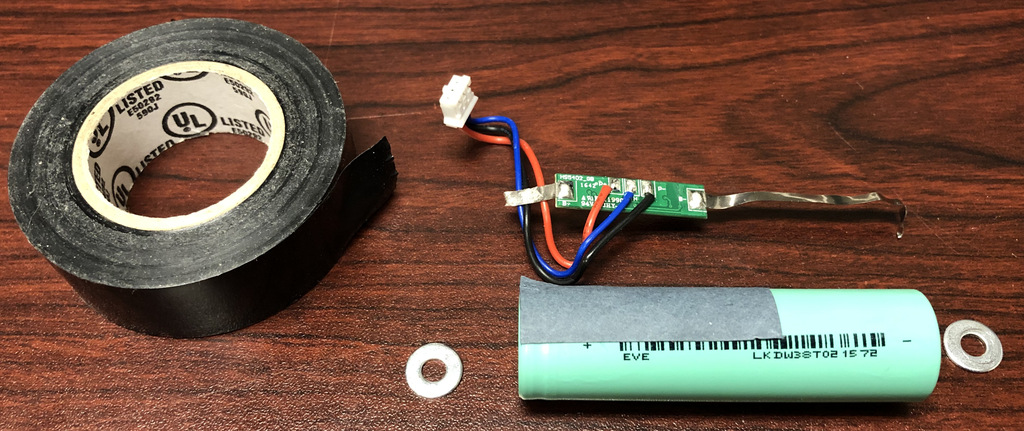
Here is the new battery pack! The original cell is a 2200mAh cell. I managed to pick up some 3200mAh cells. This will be a 33% improvement in battery life compared with the stock battery!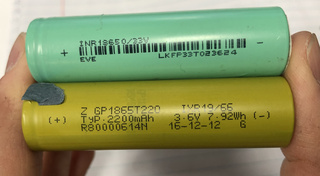
Next step... Prepare the battery for building. take the little paper sticker and place it near the positive end of the battery. Make sure the charge controller is oriented properly. Positive side (short end) to positive terminal of the battery and negative to negative of course.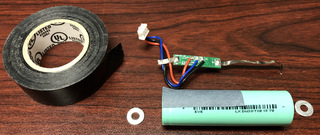
Place the washer on top of the metal tab and terminal and use the electrical tape to sandwich it in place.
Wrap both ends and secure the charge controller in place as well. Leave some area of the two tabs free so that you can test to make sure you have a solid electrical connection.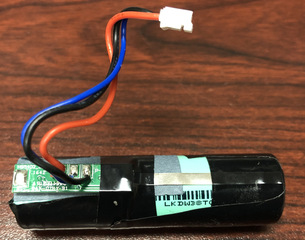
Time for testing. Use your multimeter to test the voltage across the two pieces of the exposed tabs. You should get a reading above 3V unless you batteries are very dead. If you do measure below 3V on a new battery, it's possible you have a dud, or your taping job isn't holding the tabs to the terminals properly. Adjust as necessary.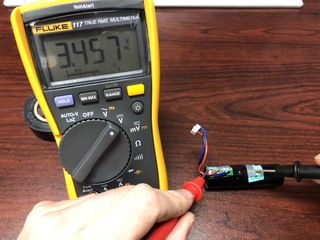
Wrap up the rest of the pack with tape, hiding the rest of the battery and the metal tabs. Voila! Finished battery pack.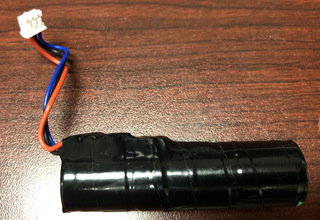
Finally, follow this page upward to re-assemble your Dash. You should now have a happy robot with a fresh battery ready for service!
Last Updated: April 3, 2022