K, I admit, I'm very excited by this point in the project and I'm itching to get this done. I set myself a first drive date for June 15 and at this point it's May so I've got a month. Spring is in the air and I'm itching to start driving. All this to say, I didn't record as much as I would have liked but you'll get the gist of what's next.
It's also the reason it's now August and I'm finally getting to this point now of recording my work.
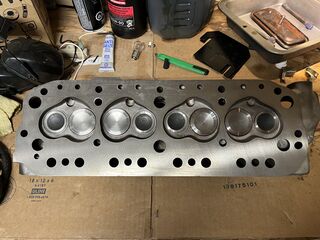
Anyhow, if you've been following my progress, you'll remember the pain I experienced getting my cylinder head refinished (Cylinder Head Saga). Here's my shiny new object waiting to be installed!
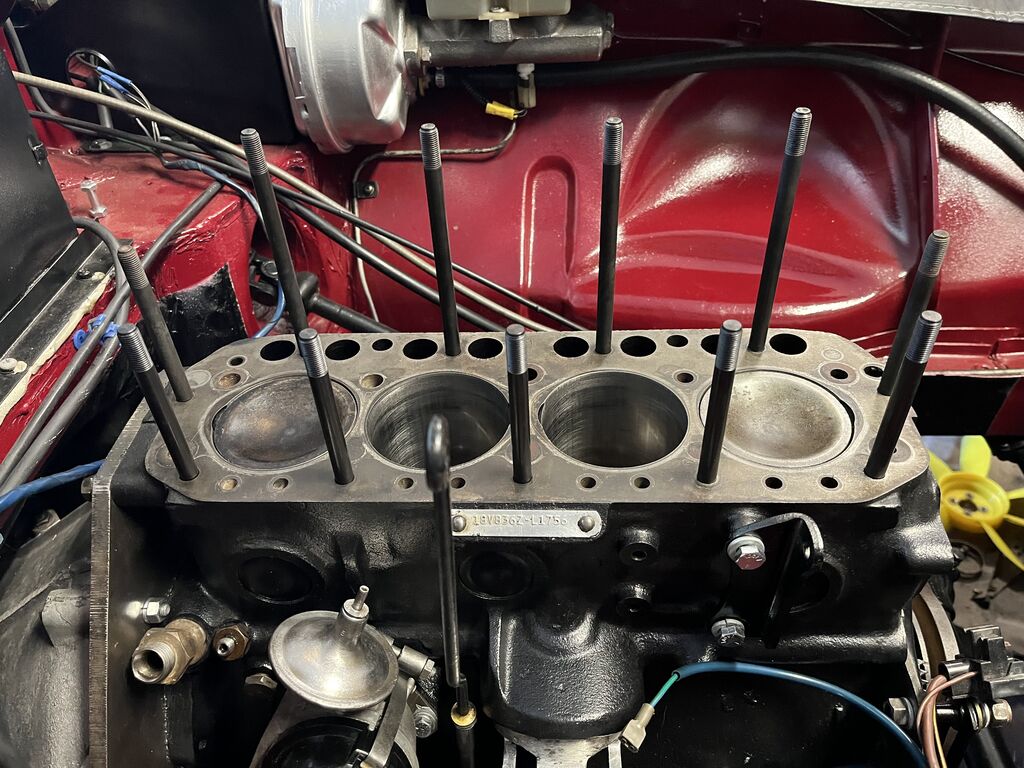
Studs first need to be installed. I reused a few good ones but mostly, I have new ones from Moss as the old ones were fairly corroded in some areas
I have to make sure everything is super clean and smooth before installing the head gasket. I did my best to remove any debris with some parts cleaner before proceeding to the next step.
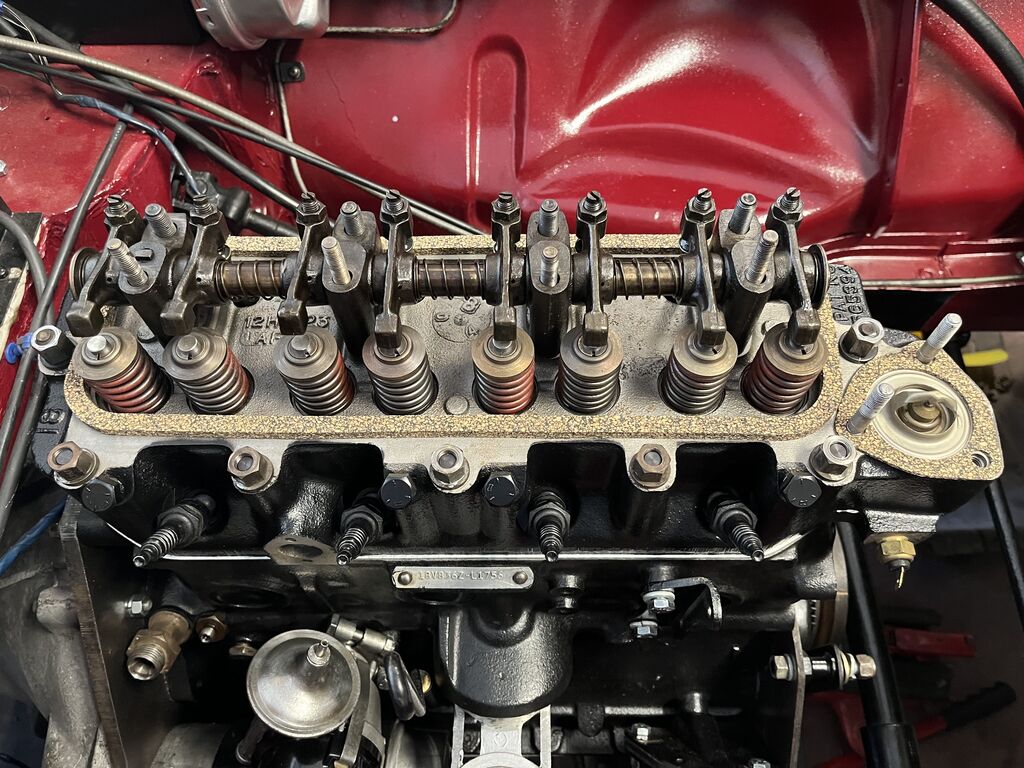
I physically climbed inside the engine compartment in order to slowly lift the iron head carefully over the studs and onto the block. After some minor adjustments, a new set of tappets with plenty of assembly lube and the pushrods followed.
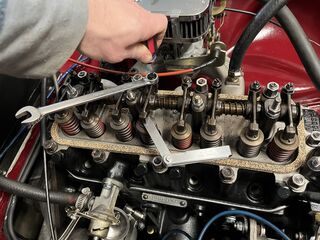
Prior to securing the head, the rocker assembly has to go back on as seen below.
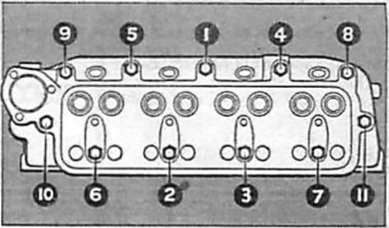
Following the proper torque sequence everything now gets tightened into place... I was a stupid head and adjusted the torque settings on my wrench incorrectly... As a result on my final pass with the wrench I managed to snap a stud! Looking at my wrench settings I realized I had it set to over 70lbs of torque! The recommended setting is 50-55. No wonder. I had to remove the head and remove the broken stud before trying again. Here is the proper torque sequence below:
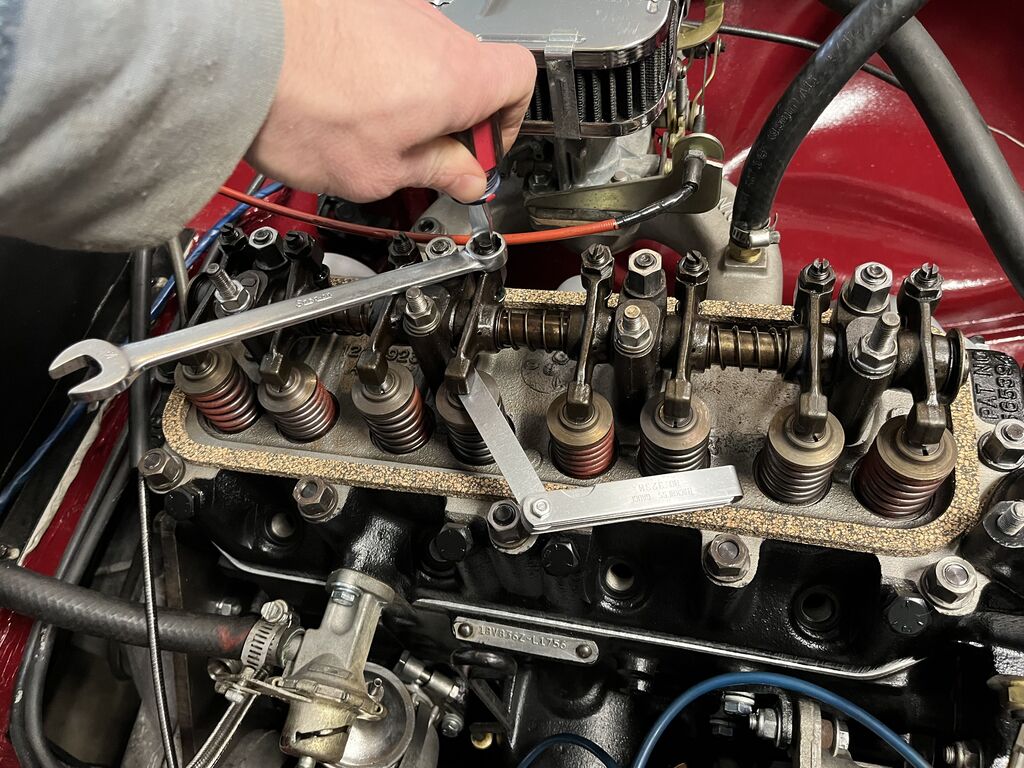
Once this was done. It's time to adjust the rocker valve clearances. This is done using the "Rule of Nine" as outlined here (mgb-stuff.org.uk). Valves need to be adjust cold to 0.015in. Here's a before and after video below.
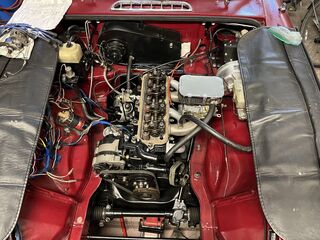
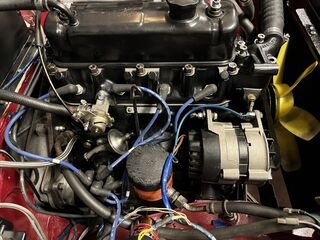
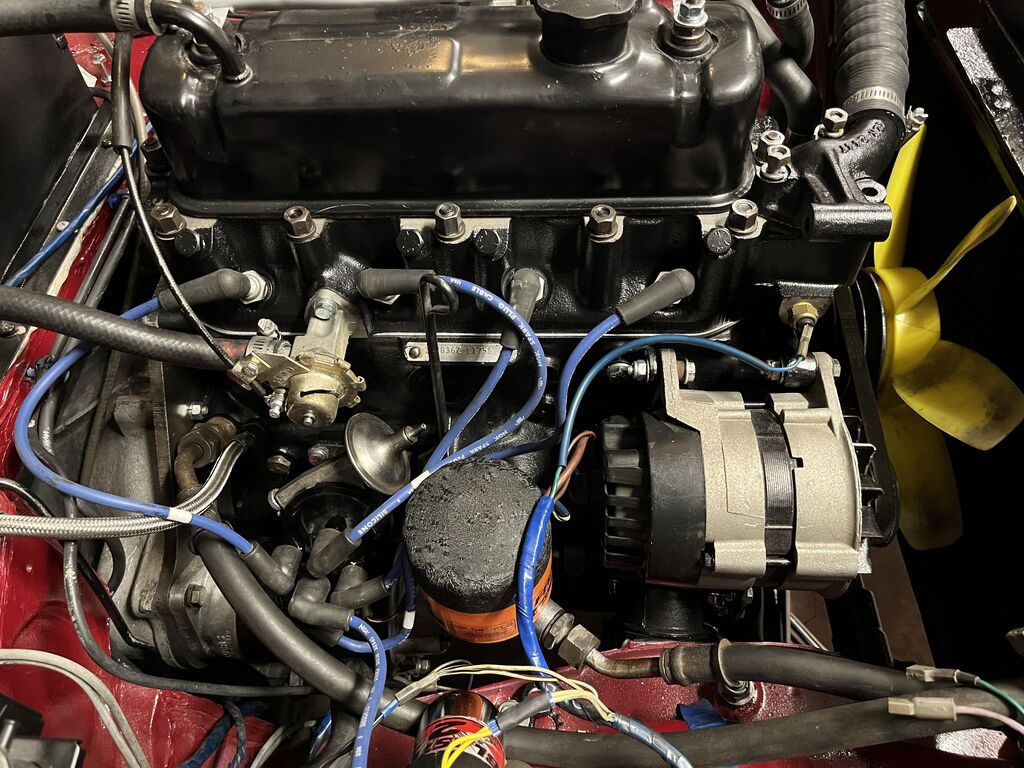
Next step to success was to get the water pump, alternator, belt, spark plugs, exhaust header and carburettor installed. This went surprisingly quickly.
After this, Distributer cap and plugs, connections to starter motor and alternator, heater controls, fan, radiator and shroud, Engine ground, exhaust, tappet covers, valve covers and oil cooler. Not to mention various hoses etc. At this point after filling the engine with fresh oil and coolant, we're ready for a test.
Yet another thing I forgot to record though was my initial test prior to plugs of basic compression. My crappy tester listed over 100PSI on each cylinder so we're good to give it an initial start after a final checkover!
K. One more thing... Gotta check the static timing. I need to make sure that we have a baseline for a proper spark. I followed this guide from the MGB Experience page to get it right the first time: MGOC Basic Service 5 - Distributor Timing Adjustment
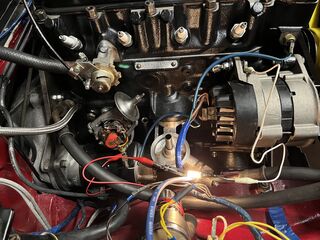
A very nerve wracking moment. I'm ready to fire it up for the first time... And he fires!