2009 Mac Pro Processor Upgrade

I've recently been using an upgraded 2009 Mac Pro at work. I did the 2010 firmware update so that I could upgrade to OS 10.14 Mojave but as a consequence the audio was stuttering badly while playing any sort of music, which I do often at work and is a well known problem with the 55xx series of Xeon processors in this particular machine.
We recently had a donation of a few older Sun servers, two of which had the x5570 processor which is what was already in my machine and two had dual e5649 in FCLGA1366 sockets. Perfect!
First Fail
The first time I took apart my Mac I noticed something odd, Apple in all its wisdom (eyeroll) used custom de-lidded processors. So I tried to put the new processors in anyhow. Technically it kinda sorta worked. However, the extra height on the lidded processor prevented the connectors for the cooling fans in the heatsink from properly connecting. As a consequence the case fans ran in overdrive, not very nice.
Scary De-lidding
Quick disclaimer. I'm not advocating that you go ahead and de-lid a processor, although if you're here you're probably going to try it anyway, so do so at your own risk!
So the average Intel processor has a nice metal heat diffuser on top of the main processor die. This is held in place by some very strong adhesive of some sort that really is best for the processor and not only gives nice even heat dissipation but also protects the processor from accidental damage. Regardless, if you want your fancy Xeon to work in your Mac Pro properly, here's one method to remove the extra metal bit.

Tools Required:
1. Fit your razor blades on either side of the diffuser, slide them between the lid and the base plate.
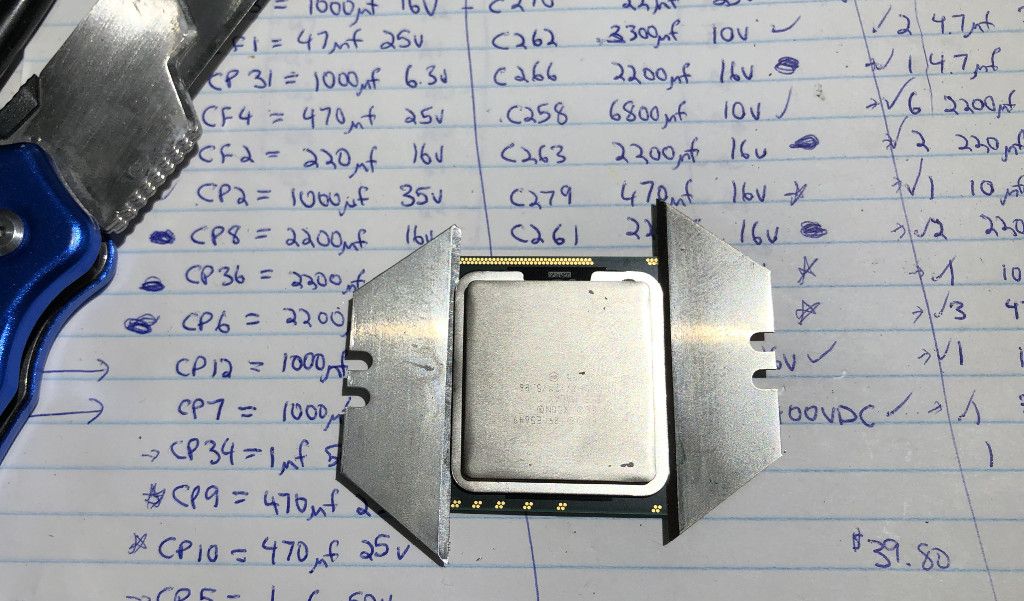
2. Place your processor with the razor blades on your holder for support.
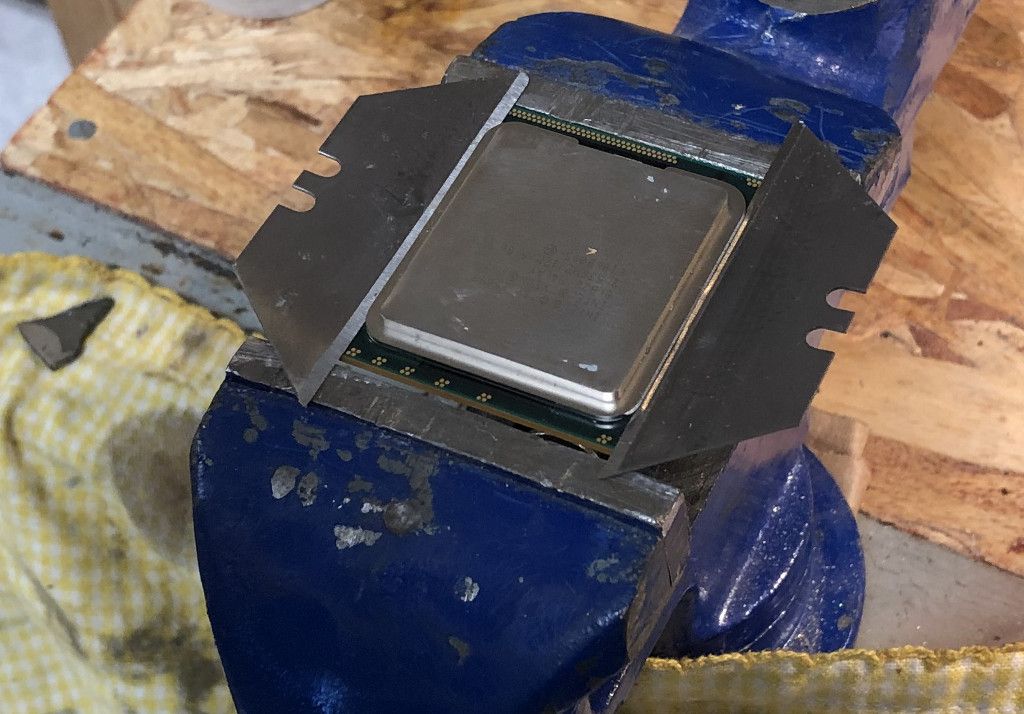
3. Use your heat gun to heat the surface of the processor until you hear a POP or crack sound. This indicates that the lid is separating from the base of the processor and the adhesive is softened.

4. Quickly pick up the processor (careful it's hot, that's why you have your gloves or whatever) and use your Exacto knife to slide under and around the perimeter of the lid to remove it from the processor.
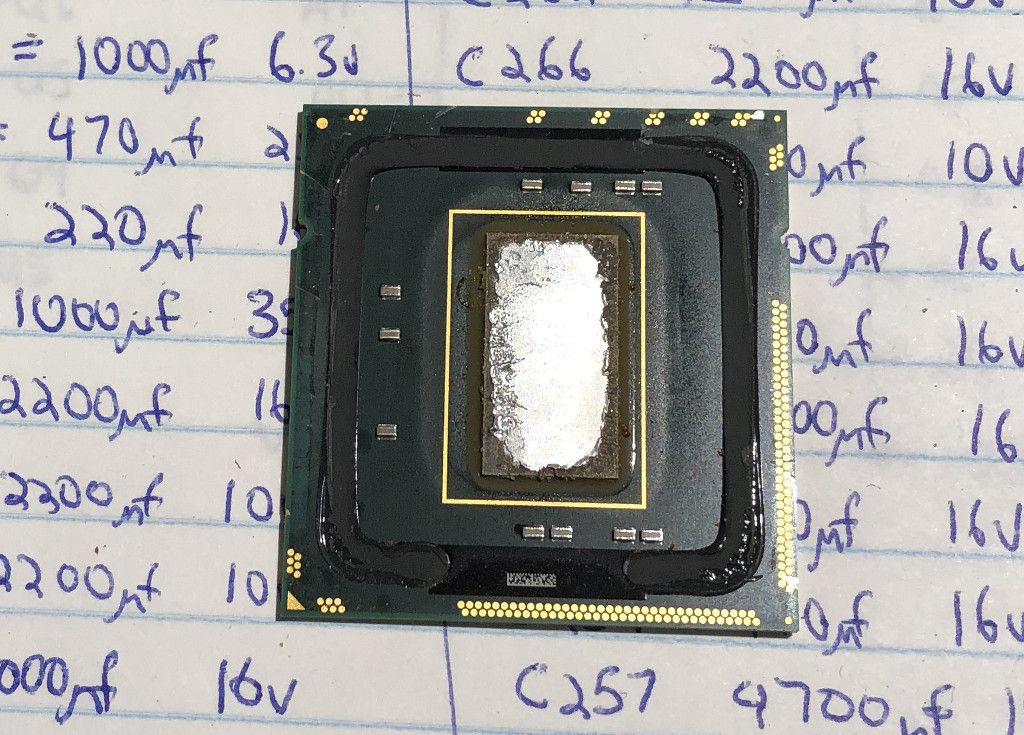
5. Clean the surface of the processor. I found the thermal paste really hard to remove, I used isopropyl alcohol and my exacto knife to remove as much as I could and create a clean surface.

6. That's it! you have a fancy new (hopefully not too roasted) processor for your Mac Pro!
You can see the final result of my tests in the first screenshot on this page. I now have a pair of hexa-core e5649's in my main work desktop and my tunes sound perfect!
Links
Strange Audio Issue on MP 4,1>5,1 Mojave 10.14.4
How to Upgrade the Firmware of a 2009 Mac Pro 4,1
Last Updated: December 15, 2019