SE/30 Restoration: SimasiMac Repair
WARNING!!: This tutorial deals with power supplies and working around CRT monitors both which can carry a deadly voltage even when unplugged. Author takes no responsibility for any injury or death resulting from this tutorial.Introduction
I'm greatly indebted to the Repair Macintosh SE/30 pages for help with the restoration of my SE/30.I've had this machine for about 5 years now and it finally died.... I was getting the early symptoms of SimasiMac (no startup and irregular vertical rasters). Before this point I was getting frustrated because it seemed to be crashing randomly.
First Things
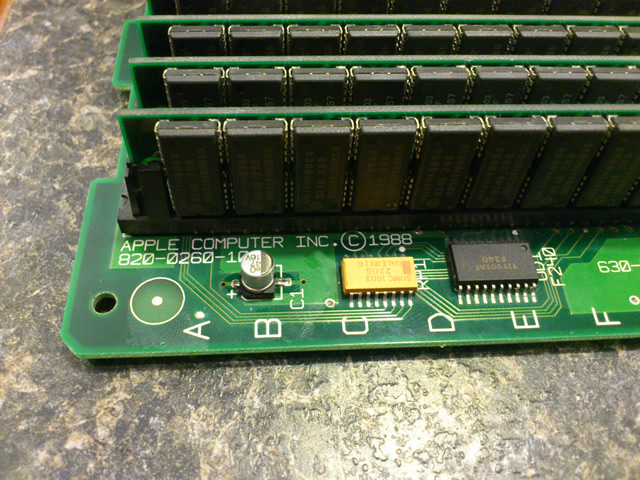
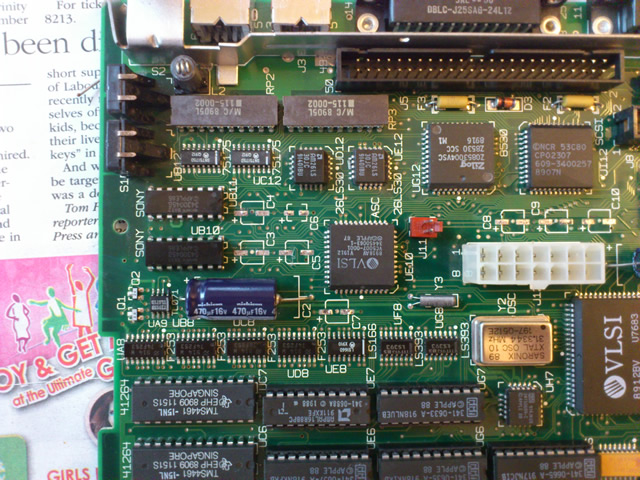
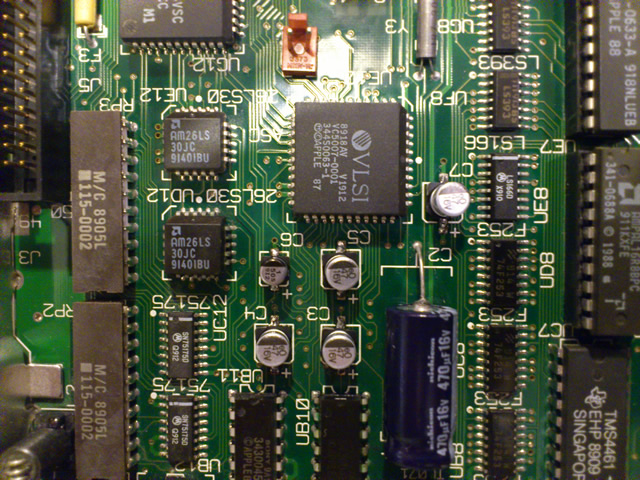
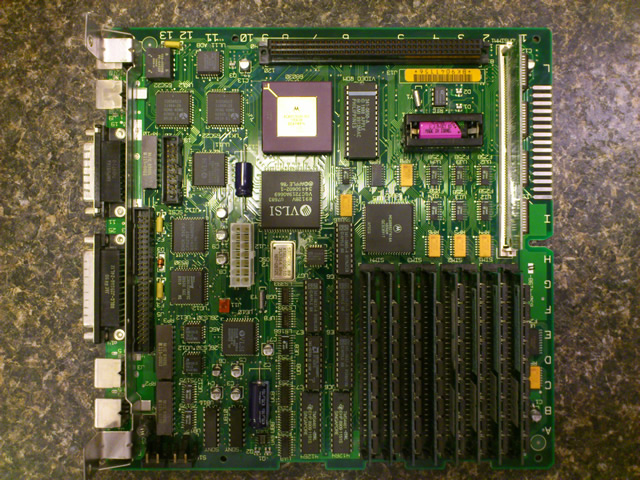
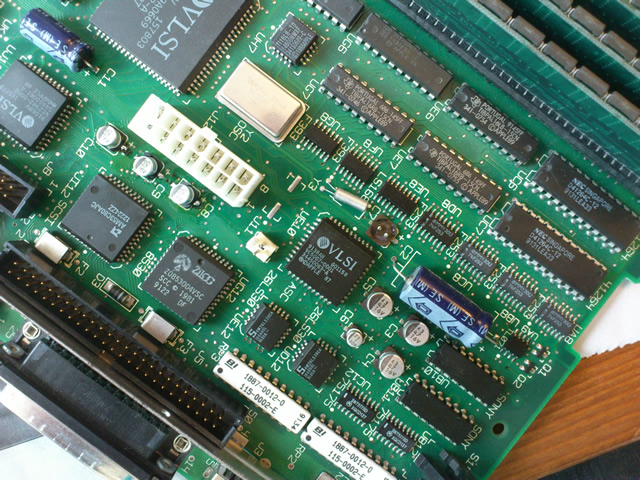
After cracking open the case it quickly became apparent that the surface mount capacitors were leaking electrolytic fluid everywhere... Sigh... There are ten SMD capacitors: Nine rated at 47µF 16V and one 1µF 50V.I was unable to source out these capacitors at my usual haunts until I stumbled upon eBay... $5.00 and three weeks later I had all ten shipped straight from China.
Tools Required
For this project you'll need:
1 Side Cutters
1 long handled Torx screw driver
1 Soldering iron
1 Magnifying Glass
Solder
Solder Wick
Thermal Paste
Q-tips
Rubbing Alcohol
Disassembly
1. Remove the Programmer's switch (if installed).2. Place the SE/30 on it's front. Remove the four screws holding the case together, two near the I/O ports, and two recessed in the handle (this is why you need the long handled screw driver).
3. Remove the back cover. You may need to use a credit card or some other plasticy tool to break the seal on there...
4. Remove any I/O expansion card(s) in the PDS Slot
5. Remove the cables for the HDD, Floppy and Power (it's got a squeeze tab like an ATX mobo so be careful!)
6. Okay this is kinda tricky the first time... Turn the computer around so the motherboard is facing you (I'm assuming you've still got it flat on it's face. Remove the RF shield and slide the motherboard up about half an inch. You'll see on the right side that there are tabs that will align with the perferations on that side.
7. Swing the motherboard out carefully and remove the speaker cable. Whew! You're done.
The Scary Part
Are you ready? Okay, here we go... Remember it's already busted so you've got nothing to lose.One very important note. Be extremely careful when removing the existing capacitors. If you've not careful, you may accidentally destroy one of the traces and that's it... It's pretty near impossible to fix
1. use the side cutters to clip off the can of each capacitor. Sometimes they're corroded enough so that you can gently lift the can straight up and off with minimal effort.2. Use your soldering iron and solder braid to remove the remaining leads and solder from the pad of each connection.
3. Clean your board. I used an air compressor to blow off the dust and crud. I then used Q-tips and rubbing alcohol to clean off the leaked electrolytic fluid, flux and dust around the pads.
4. Tin each pad with solder.
5. Hold each new capacitor in place (make sure the polarity is correct) and melt the tinned pads. If you've got the capacitor in place, the tinned pad should be all that's needed to solder the new capacitors.
Results
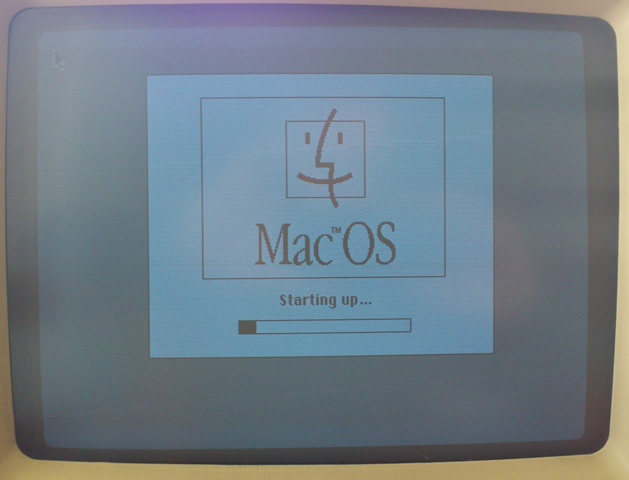
Wow, what a difference, it's like using a brand new computer. I replaced the clock battery and added more RAM (I'm up to 20MB now). I don't think my soldering work is completely up to snuff but it did the job for certain.The only thing I did notice however is that I can hear a faint buzz from the internal speaker. It seems to happen whenever there's an I/O to the HDD or other SCSI device. I don't know if it's related to replacing capacitors or the SE ATX hack I did. Either way it doesn't really bother me.
Links
My SE/30
Repair Macintosh SE/30