First of all, just gotta say... This has got to have been my least favourite job of this whole project. My desire for perfection coupled with my complete lack of experience and a desire to 'get it over with' is driving me crazy. But I'm no quitter even if this project ends up looking like an amateur project... Which it is of course!
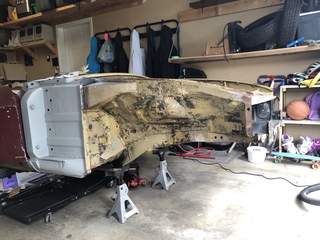
There are a number of things I did not really record in photo or video. Mainly, the sheer number of hours it has taken to degrease and clean up the 47 years of junk that accumulated on Emmet's underbody. I literally spent hours on my backside underneath, scrubbing and degreasing every nook and cranny. Long, slow disgusting work.
For this process I used Simple Green degreaser, a rotating bucket of water, a scrub brush and cloth. I wore a mask and goggles to protect my eyes and lungs from the splatter raining down on me from above. Oh I forgot to mention this is after I used the pressure washer on it... Twice.
I will say, the one upside of all the grease and oil, is that the underbody was actually in much better condition then inside of the cockpit. Most of the paint was still intact, and actually quite beautiful. If it was on any other part of the vehicle, it would probably just have needed a good polish and it would glisten nicely in the sun.
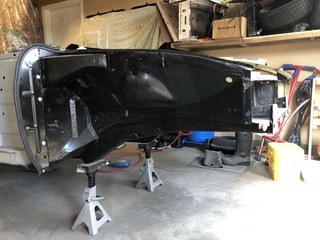
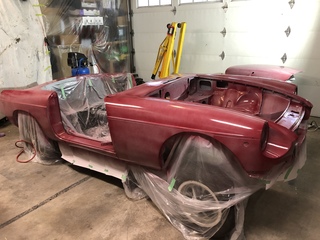
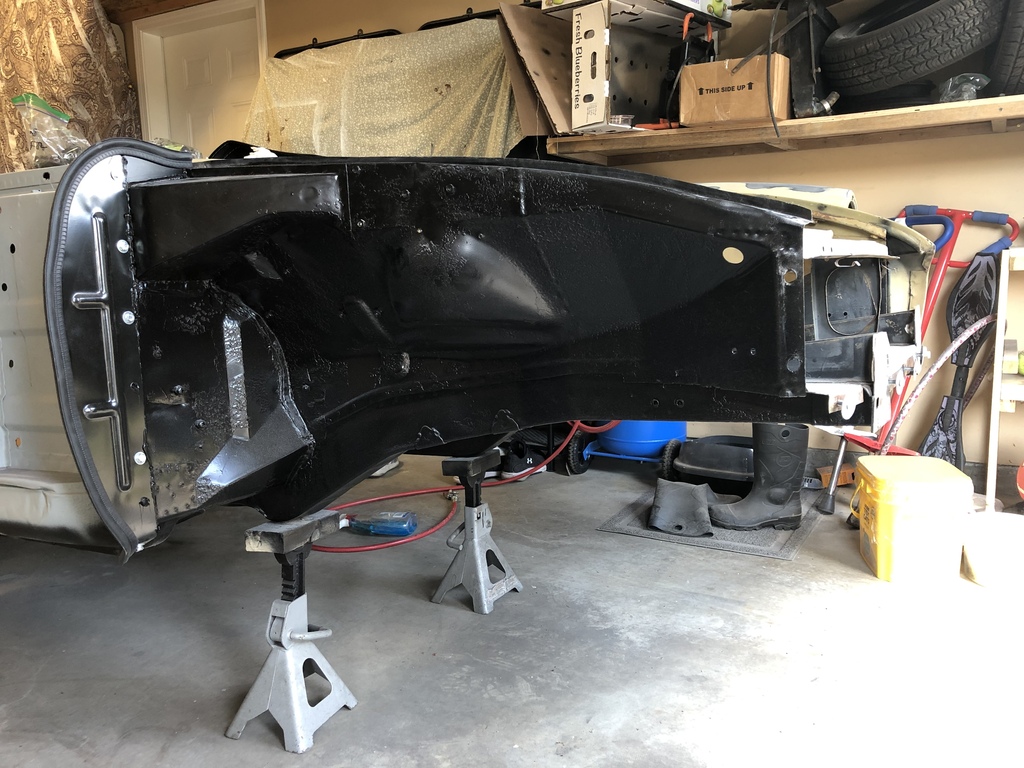
To protect it further I decided to cheap out and rattle-can (with Tremclad Pro) the underside over the existing paint and worry about doing an undercoating later if I felt like it. I'm pretty happy with the result.
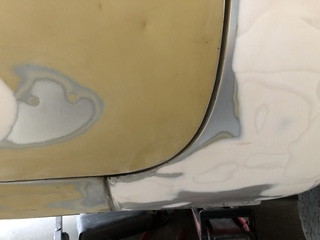
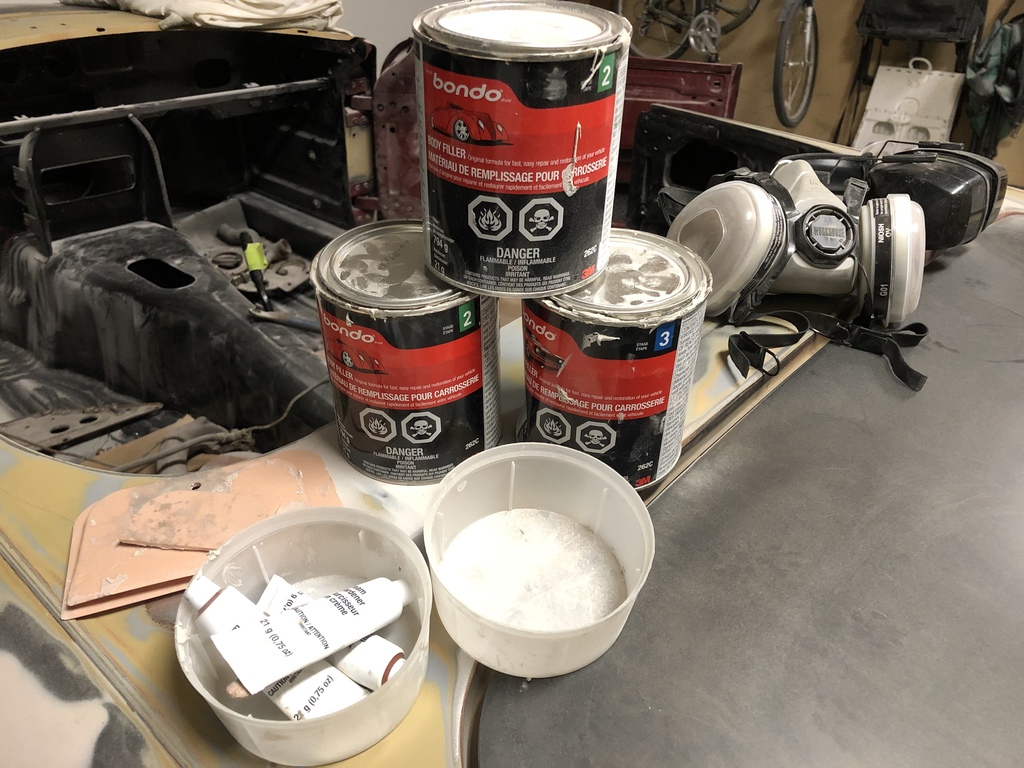
The next step was to Bondo the many dings and welding marks that have marred up the vehicles surface. I decided that I would only take care of the most unsightly dings and the obvious places where I had welded in the patch panels. I want this car to show a little bit of its character. In addition, there are a couple of deep dents on the passenger and driver rocker panels that are simply too deep for Bondo.
This process also turned out to be a time consuming process. Probably because I applied the bondo quite deeply in a number of places which required epic amounts of sanding with the orbital sander.
I have learned a number of things from this process,
Apply the Bondo in thin layers
Apply it to the area surrounding the dent further than you think... No I said further!
Use a flat edge to determine if your final sanding job is elevated past the surface of the metal. This becomes very obvious in the priming process
Mix well and avoid air bubbles. This can cause a pinhole nightmare in your finished product.
For the love of all that's good, Sand the thing outside. The dust gets absolutely everywhere!
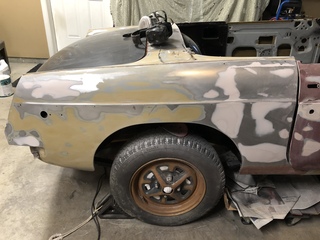
The paint prep is equally as important. After sanding it is crucial to clean every little bit of the car and degrease again to remove anything that might contaminate your beautiful paint process.
I first used water and a cloth, followed up by de-greaser and more water, then Windex as if were a freaking big window, and then a tack cloth to remove any fuzzy bits left over.
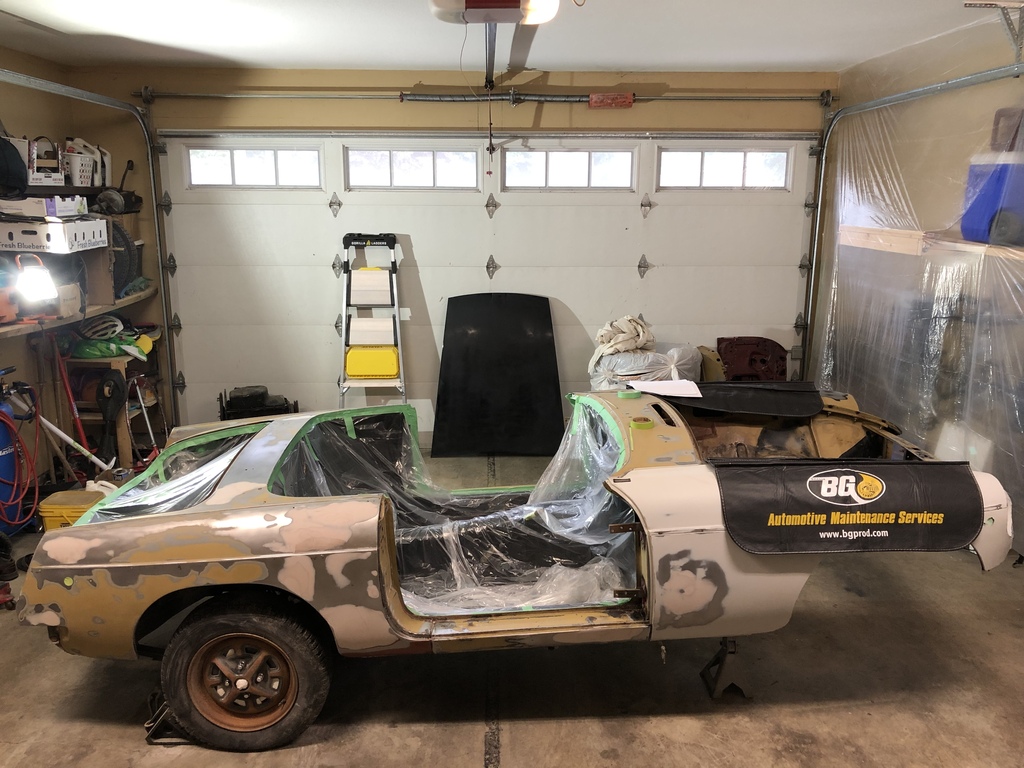
I then prepped the garage for painting with lots of plastic. I borrowed a dust extractor from work which I retrofitted an AC unit filter onto to provide fresh, dust and bug free air for my home-brew paint booth.
K. So I bought a paint gun from Princess Auto for the painting... The painting made me very nervous. I've never used one of these things before, not a hot clue other than some Youtube videos. So scared of screwing up.
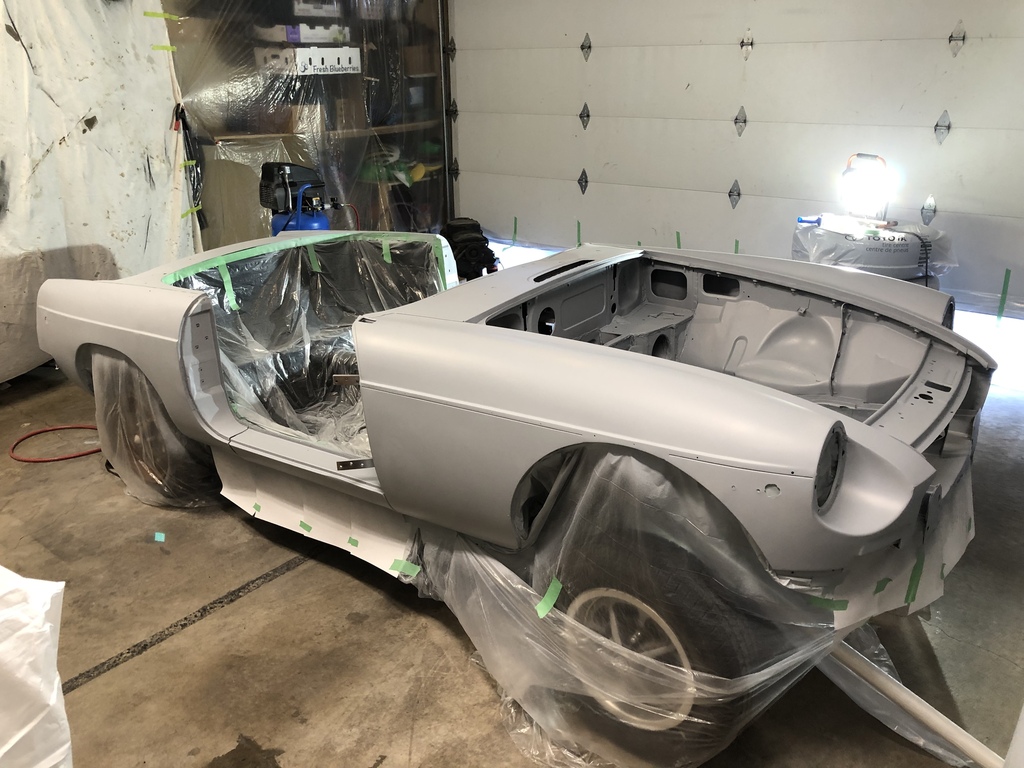
Which, you know with primer, I did my first coat yesterday (September 26, 2021) and yea... Kinda made a bit of a mess. The car now has primer on it... And a lot of drips that I have to clean up... Like with the Bondo I'm learning a few things:
As the Hitchhiker's Guide says on its front cover: Don't panic.... I totally did when I first mixed the primer. I was afraid it was going to dry in my gun so I shot it quickly and so did a not too careful first coat.
Thin coats people... Thin... Better too thin than drippy globs all over the place.
Don't worry, if you had a lot of Bondo, bare metal and old paint camouflage (ie: if you were like me and didn't sandblast the body) there are going to be noticeable things you missed in your prep. After your first coat of primer you can go back and fix these things. Which is what I will do.
At this point this is where I am... I'm on Point 3 above... the 'oh crap I missed some things' part after my first primer coat. Now to go back and try again. But you know what, in the end... It's looking better. At least it's all the same colour now!
Update! (October 10, 2021)
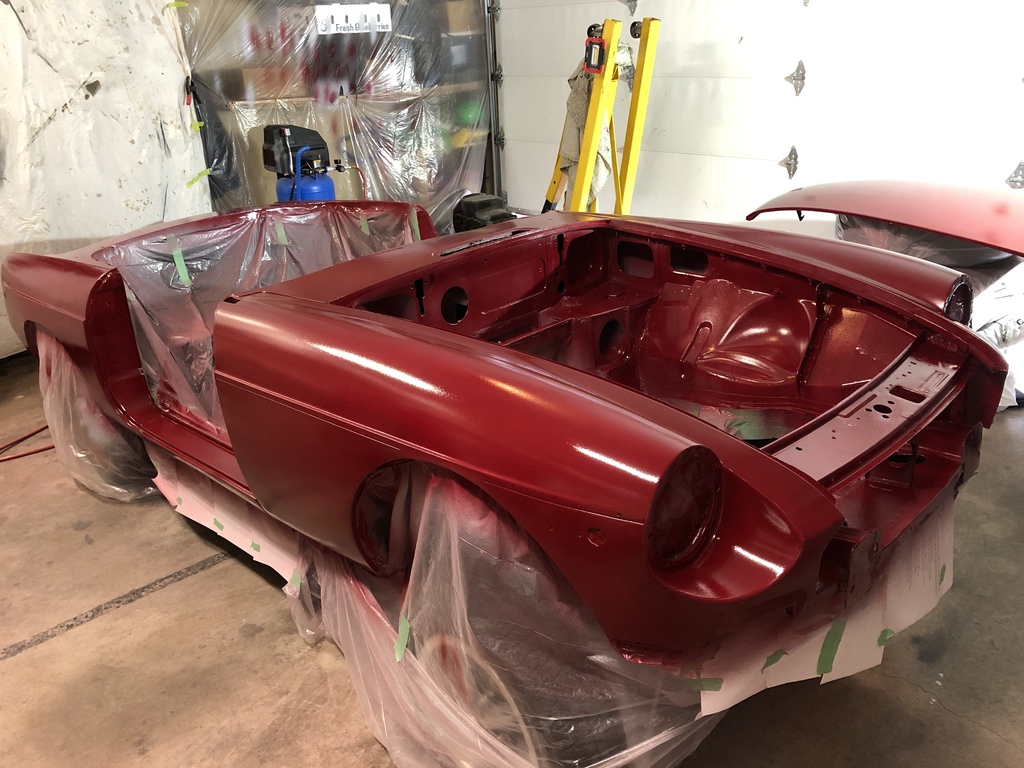
Still working on the painting... I've made a crucial discovery after my third coat of paint. I was wondering why my paint seemed to eject the gun slower with every batch. Turns out I wasn't cleaning the gun properly....
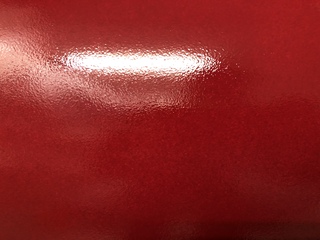
Also.... I hate house painting, and it turns out I really hate car painting as well! I can't stand the stress, the dust messing up little bits and the technique of painting has not yet come to me. Orange peel (see the picture) is a major problem. At this point I'm like... It's going to be a red car Eric, it will be okay. Panic, panic.... Apparently this can be fixed with some super fine grit sandpaper. But I want perfection now!
I'm five (5) coats into the top coat.... We'll see if a couple more coats hides the rest of the primer and gives it an even finish.