|
|
|
|
Home > Mgbaxle |
Axle Work
After getting all the welding squared away, I started the painstaking process of cleaning and repairing the unsightly underbelly of what I'm now calling Emmet. Man what a job.
I first went at it with a pressure washer and then followed up with a de-greaser for multiple sessions. 45 years of dirt and oil makes for a big mess to clean up.
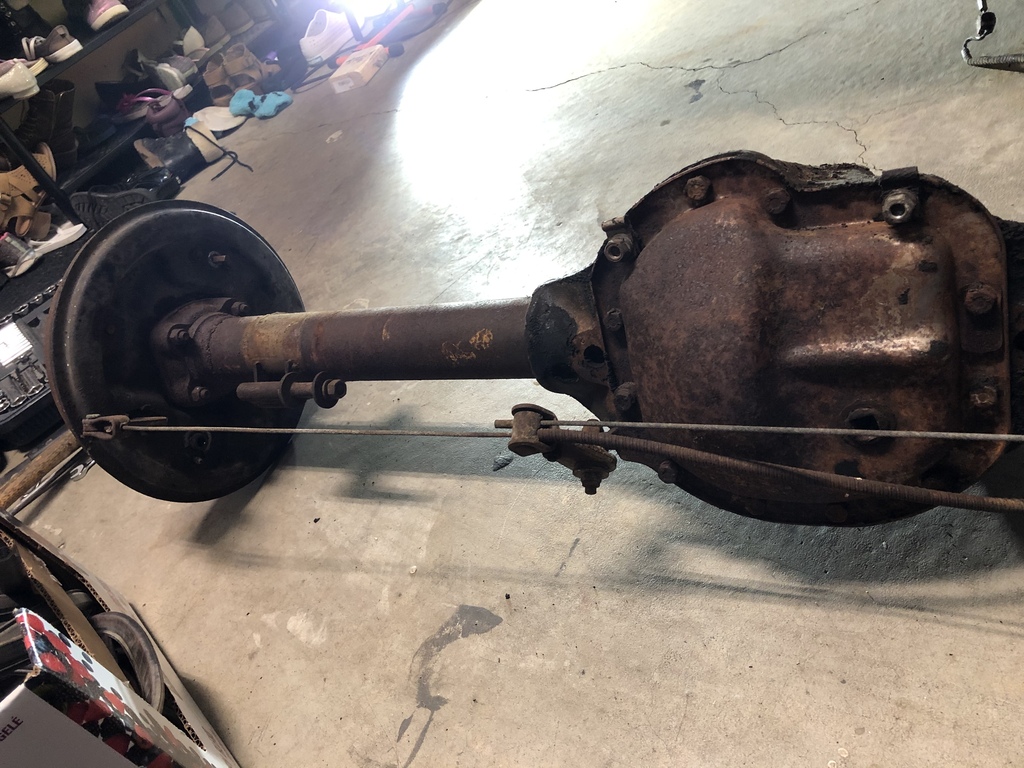
To get at the bodywork at the rear, it made sense to remove the rear axle and fix it up. I checked out Rusty's rear axle to compare and well... unsurprising... It was rusty by comparison to the one already on the body shell.
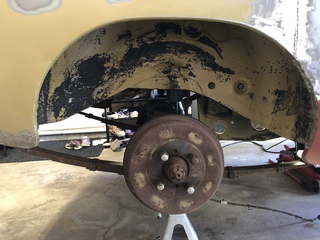

Getting the thing off required jacking up the rear end just ahead of the rear springs. From there, the following removes the whole rear end on my 74.5... This is different of course if you have a vehicle with a rear anti-roll bar. (Like Lucy which is a '77). I'm also assuming that the drive shaft has been removed.
1. Bleed out the brakes and remove the rubber brake line next to the battery box
2. Remove the adjustment nut from the parking brake.
3. Remove the captive nut holding the parking break to the inside of the drive-shaft housing (just behind the parking brake lever on the passenger side).
4. Remove the bolt holding the parking brake cable to the battery box.
5. Remove the two bolts holding the shock absorbers to the body.
6. If they're not broken already, remove the rebound straps.
7. Support the axle on each side with jack stands and remove the four bolts on the axle u-bolts. (this will allow you to remove the shock absorbers completely.
8. Remove the leaf spring shackles at the rear of the vehicle. Let the leaf springs drop.
9. Remove the axle.
10. Remove the remaining bolts holding the leaf springs. Sadly for me my passenger side bolt was rusted to the metal bushing on the spring so I had to grind it off... :-(
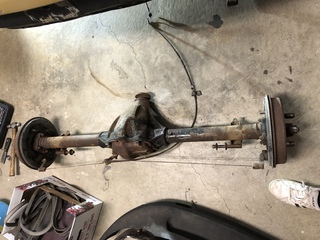
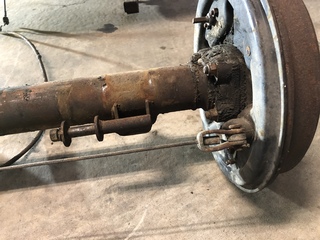
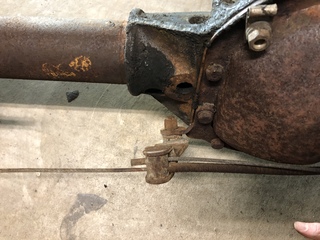
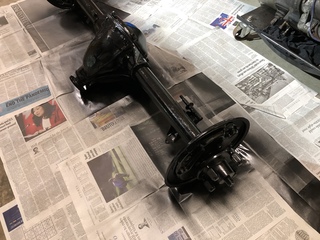
From here I placed the axle on couple wheel dollies so I could work on it more easily. You can see the layers of grease, dirt and rust that have built up on the axle below. I cleaned it up using some de-greaser and a wire brush.

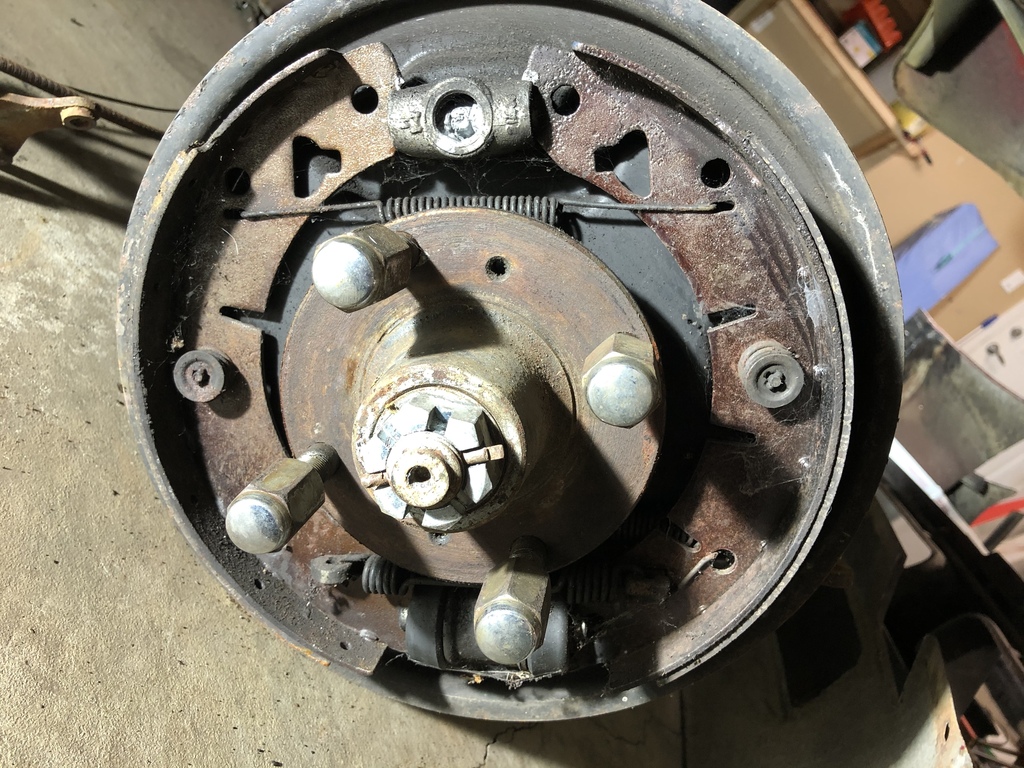
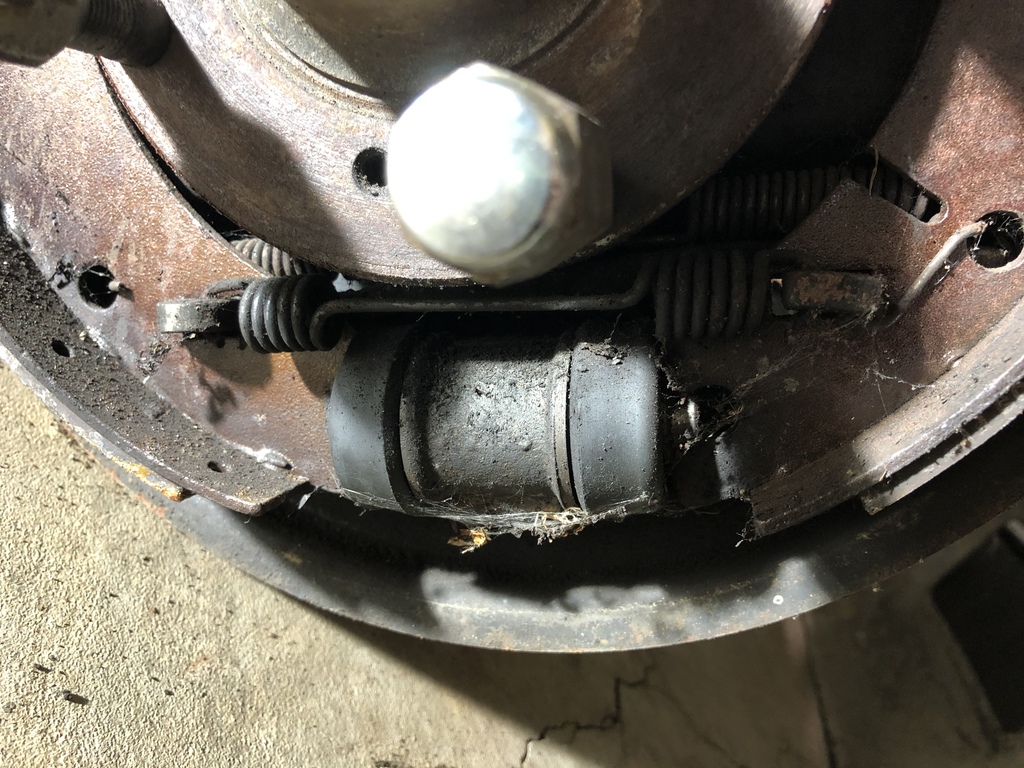
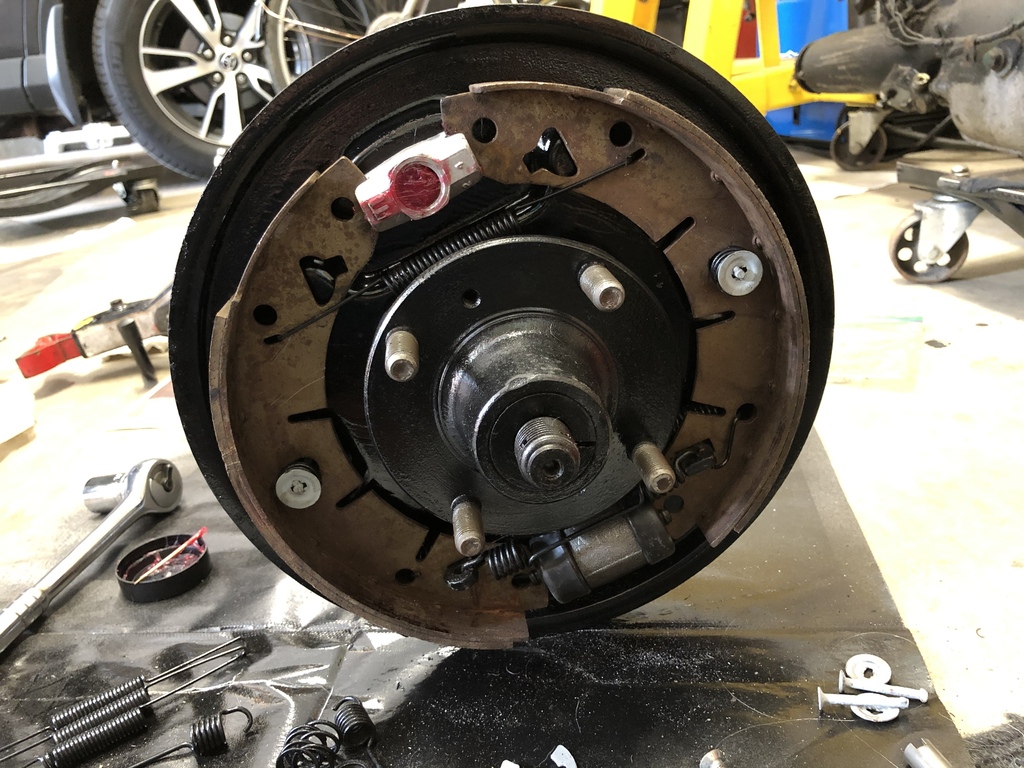
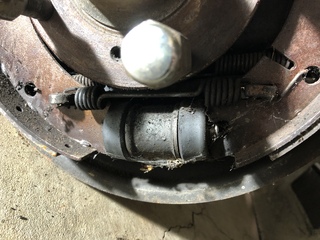
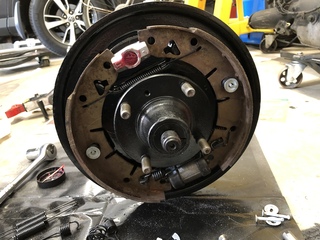
Well, here are the rear brakes with the drums removed. I took these pictures so I could see how to re-assemble the brakes after cleaning them all up.

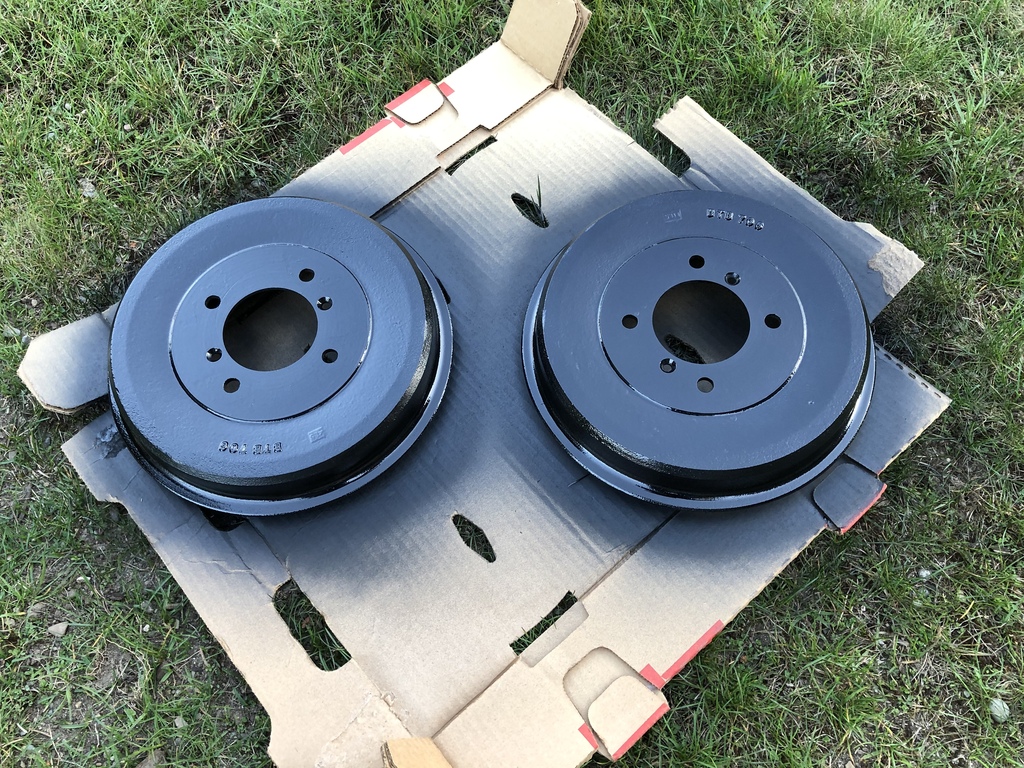
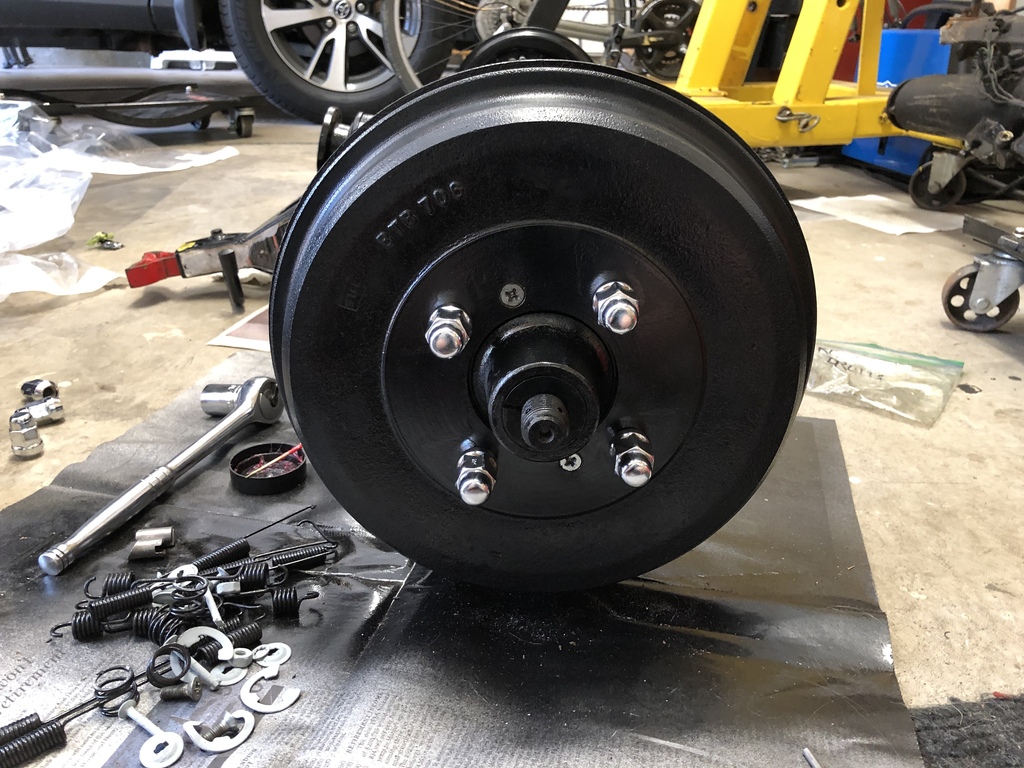
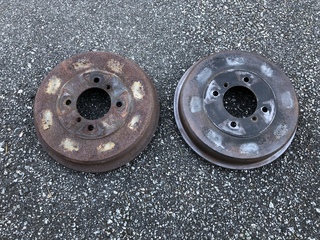
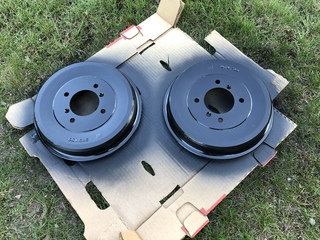
Here are the actual drums. They were quite rusted too. I used some high-temperature engine paint after I cleaned these up with a wire brush. They look really good now!
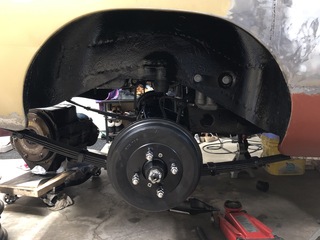
Here's the re-assembly after cleaning and painting. You can see at this point the castle nut is missing from the centre. This one got rusted on really good and I had to cut it off with my grinder. The pin was rusted as well so I had to drill it out. Thankfully Rusty has a couple spares that I ended up using!

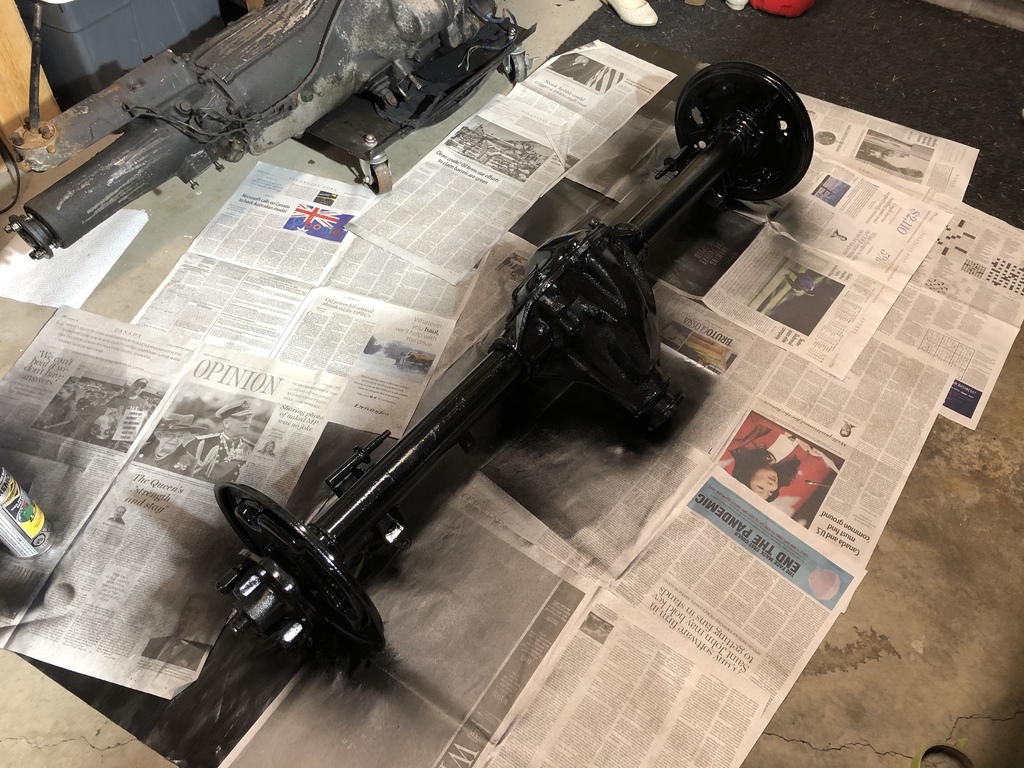
It was a treat to finally get this thing painted. it looks so good now!

I purchased some new hardware for the gearbox to spruce it up a little. Sadly I ruined the gasket when I removed the old bolts, hence the paper towel catching the old gear oil on the floor that was leaking out.
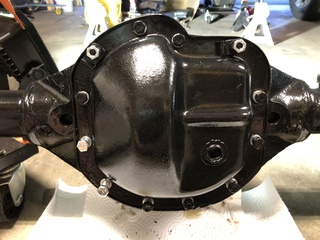
Here's the new gasket going on.
After putting the new gasket on, I had to refill the oil. This is the tool I made to remove the filler plug. In retrospect. I should have shortened the shank. It does the job though!

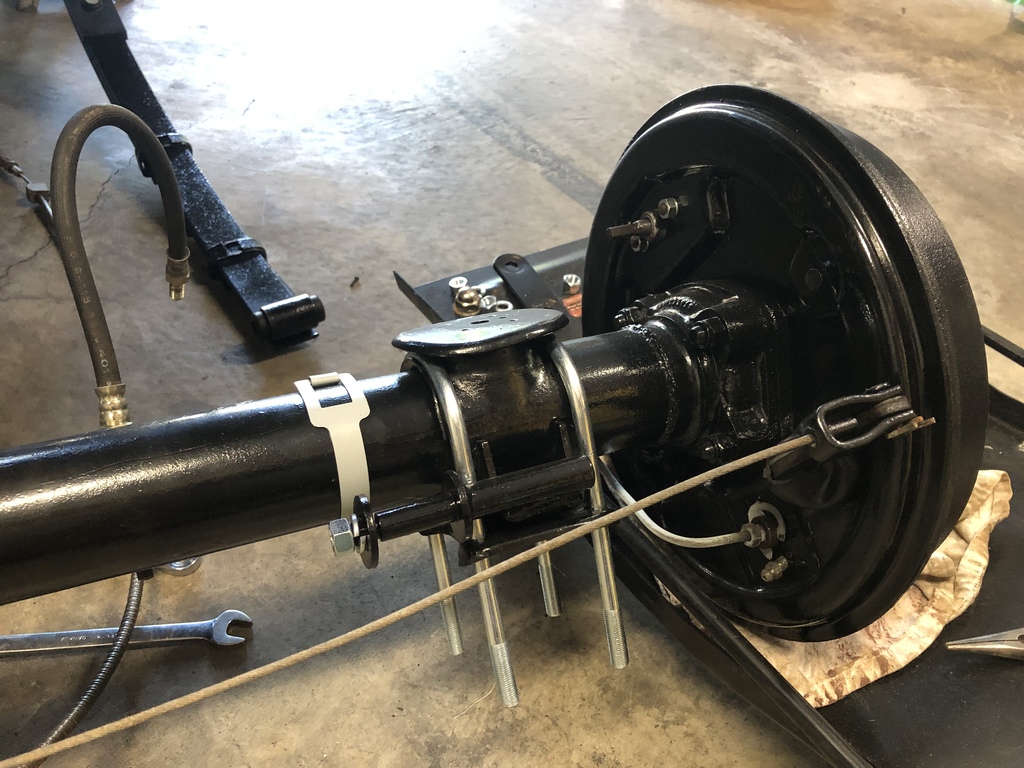
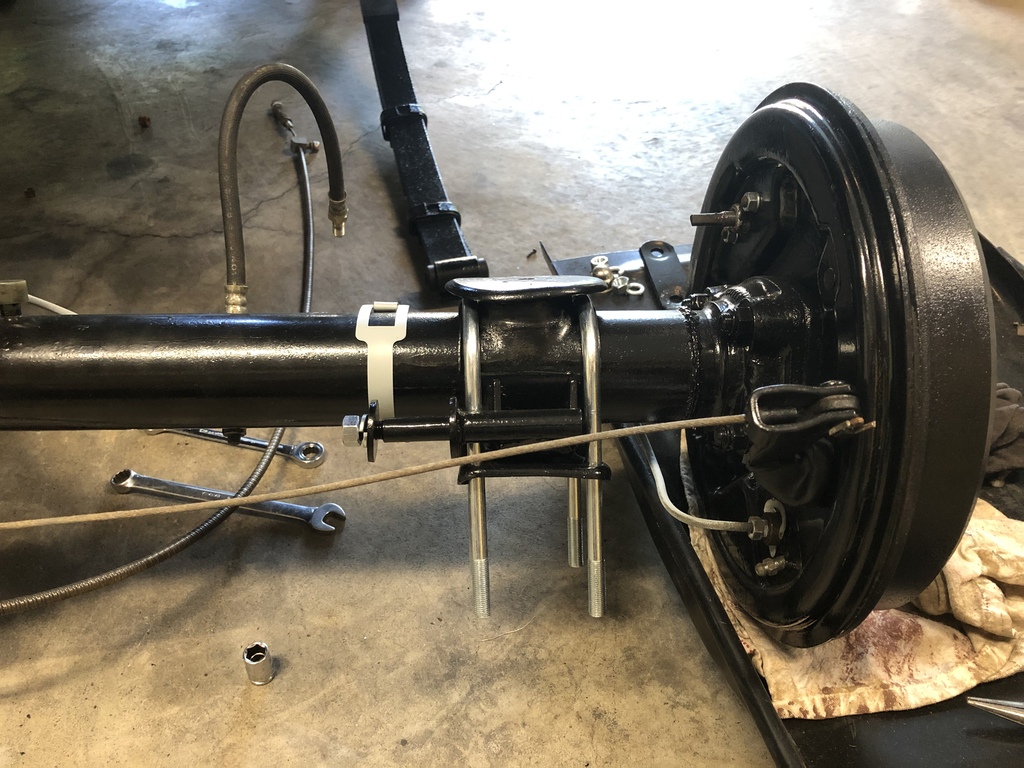
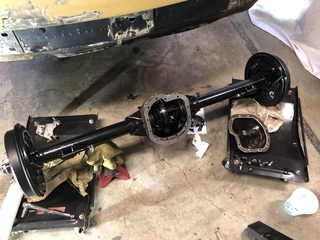
The axle is almost back together at this point. I've replaced the straps restraining the brake lines and I ended up stealing the parking brake cable from Rusty and cleaning it up. You can't see it here but the big new stuff to replace were all the rubber bushings and pads on the suspension. Front and rear on the leaf springs, and between the shackles that hold the leaf springs to the ubolts.
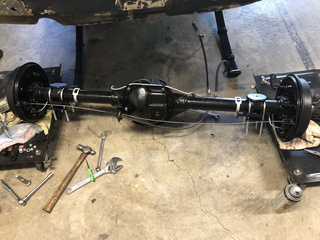
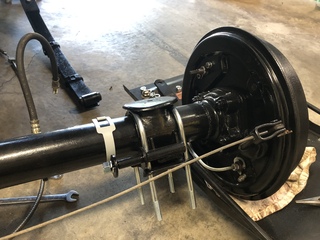

And here we are! Back together again!
Last Updated: July 19, 2021
|