It's been a few months, and I tell you, it's been a laundry list of items getting completed.
The front suspension has been apart since last September prior to painting Emmet. I had removed Lucy's suspension since it had the front sway bar, and I had thought it would just be a quick cleanup. Nope.
Over Christmas I cleaned up the front crossmember and painted most of it, but I didn't want to remove the springs without them being in some way attached to the car as they are under some serious tension. I left it until just a few weeks ago to complete.
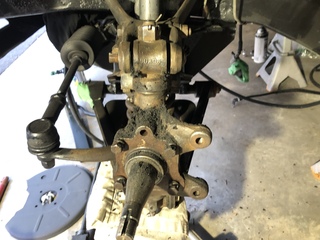
As you can see, I had some degrading bushings, I ordered a new trunion bolt set. Looked pretty easy....
Nope... The trunion bolts were really rusted in there. I had to use my angle grinder to cut them off. Still after this I had to hammer out the stuck bits in the shock absorbers on my bench vise. Ugh. Not fun.
I'll probably do a longer section on this, but actually, David Russell-Wilks has a great rebuild video here. He's very meticulous, far more experienced than I will be doing this stuff.
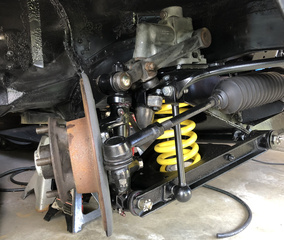
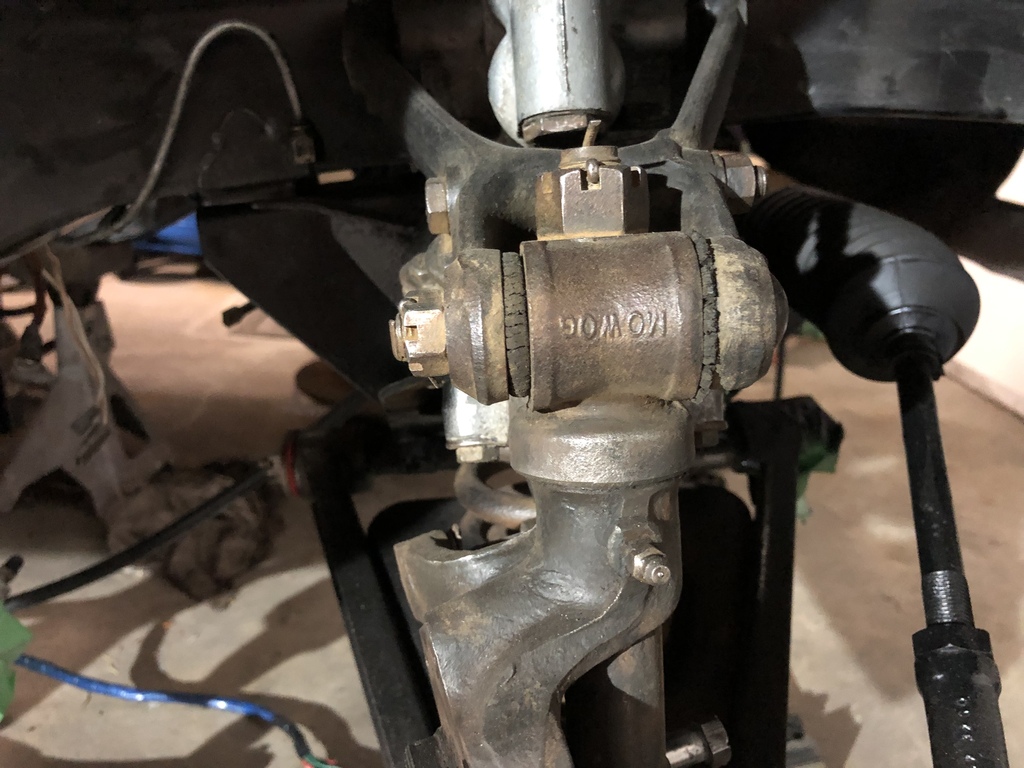
Here's the final product, from one angle, but you can see the various bits aside from the brake calipers. I purchased a grease gun and greased all the various points. You can see that my rotors are a bit rusty. I figure some braking action will clean those up once I get Emmet on the road.
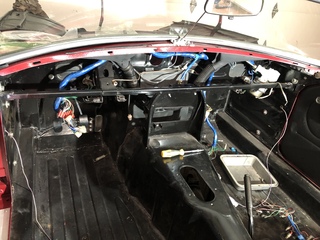
Lotta stuff has to go in behind the dash before it gets put back together. The wiper washer tubing needs to go in first, then the wiper assembly, the wiring harness, venting for the defrost, cabling for the various dash controls, oil pressure tube thingy, grommet thingys, sequential seatbelt unit (1974 unique), speedo cable. I think that's it.
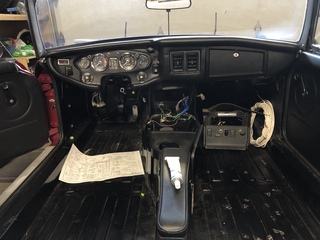
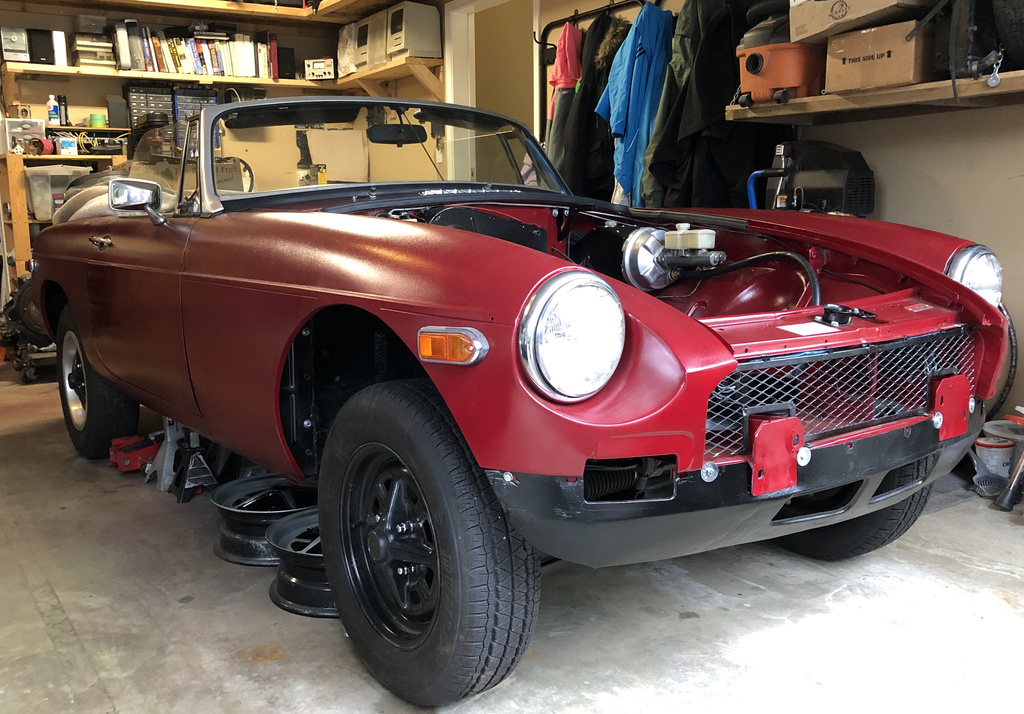
But of course getting the dash in really makes the cockpit look a little bit more carlike. It's so shiny now! I did destroy the rheostat trying to remove it so I still need either a blanking plate or a new one of those. You can see the two necessary wires dangling from the hole.
What I haven't documented in photos is the installation of the gas tank (maybe I'll add that later) and the fuel line and vapour line. The original lines on Rusty were um... rusty... so I hacked them out and replaced them with some modern rubber equivalents. Yea... I think at some point I will take some pics and put them here. That makes the fuel system almost complete, I have the fuel pump mounted and plugged back in too.
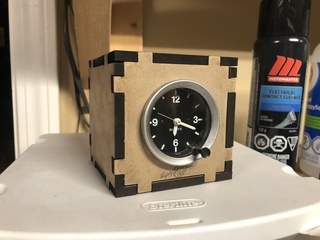
Speaking of cockpit, the one feature I really miss from Lucy is the cute little analog clock on the six gauge dash on the 1977-80 model years. I found a solution. The clock is now housed in a custom housing I modeled on TinkerCAD in my garage to tell me when I've spent too long tinkering. You're welcome Kristen.