|
|
|
|
Home > Mgbengine |
Major Engine Work
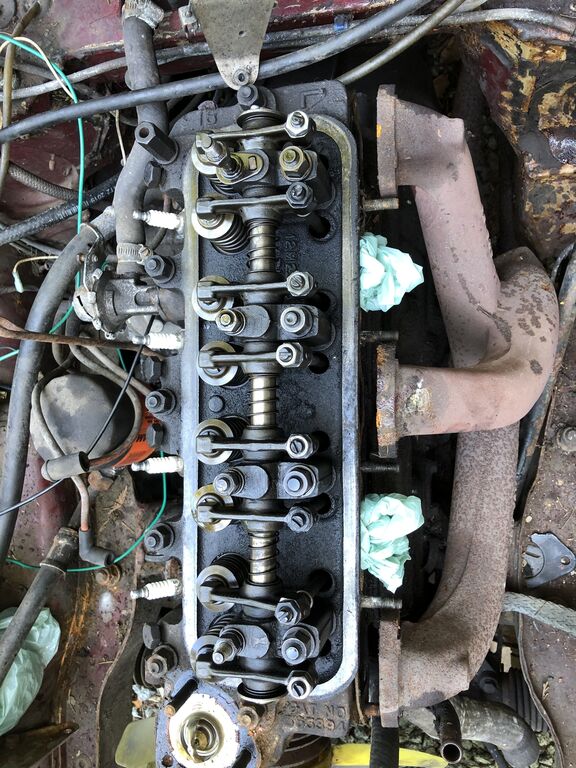
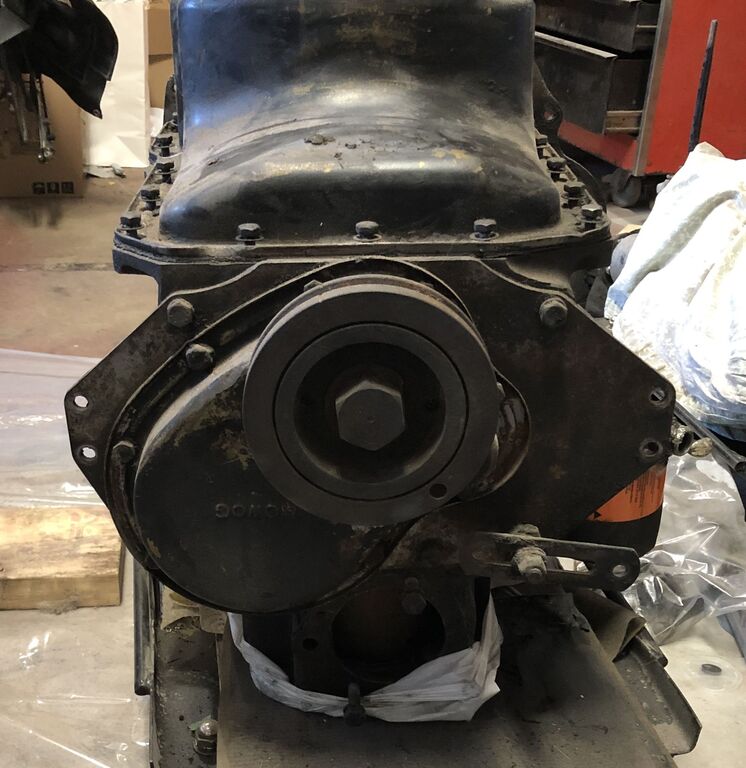
I've put it off for far to long. It's time to dig into this engine! Like most things with this project, I'm scared to wreck stuff... But I'm in this to learn so here we go! First we'll rewind back to January of 2020. COVID was just a news story out of China and I stumbled upon this beauty in the auto shop shop at work. Here's the engine bay as I first laid eyes on it.
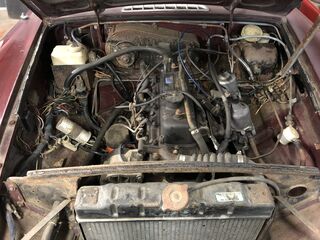
As you can see, it's quite a mess in here. But it gives you an idea of what I'm working with.

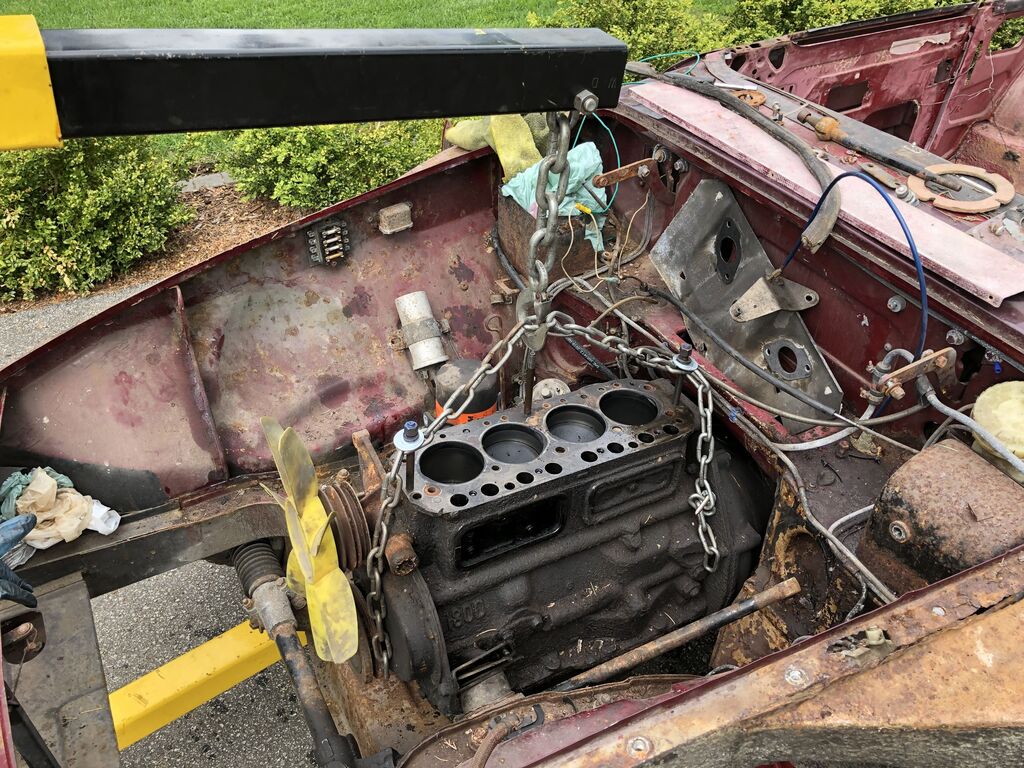
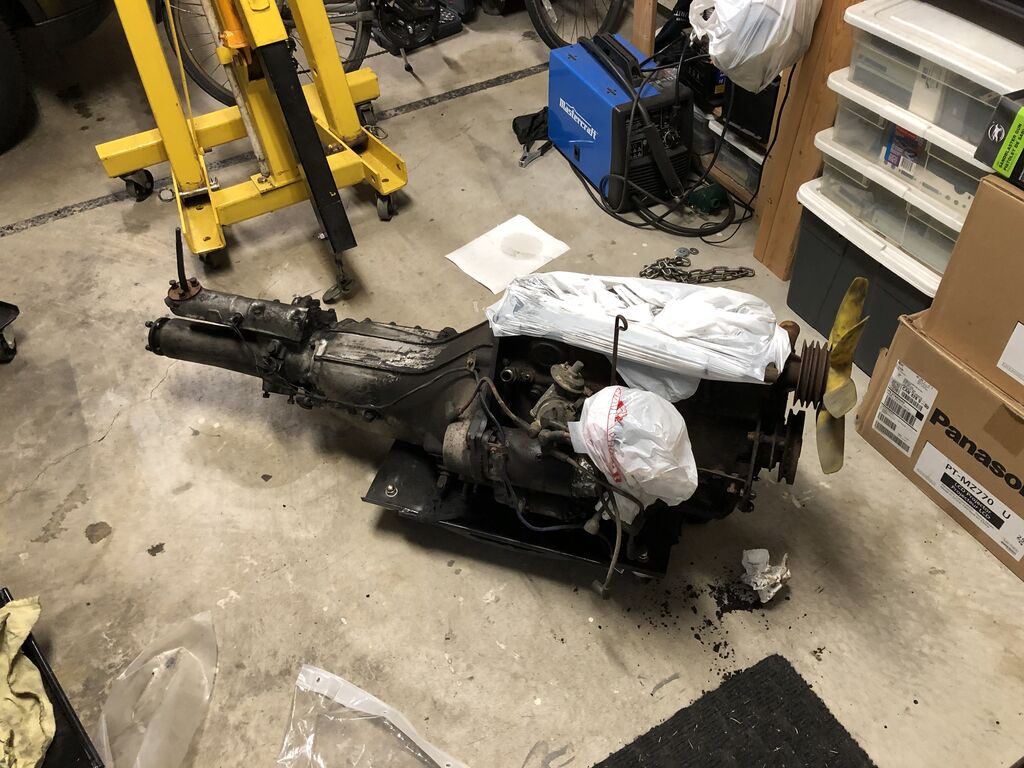
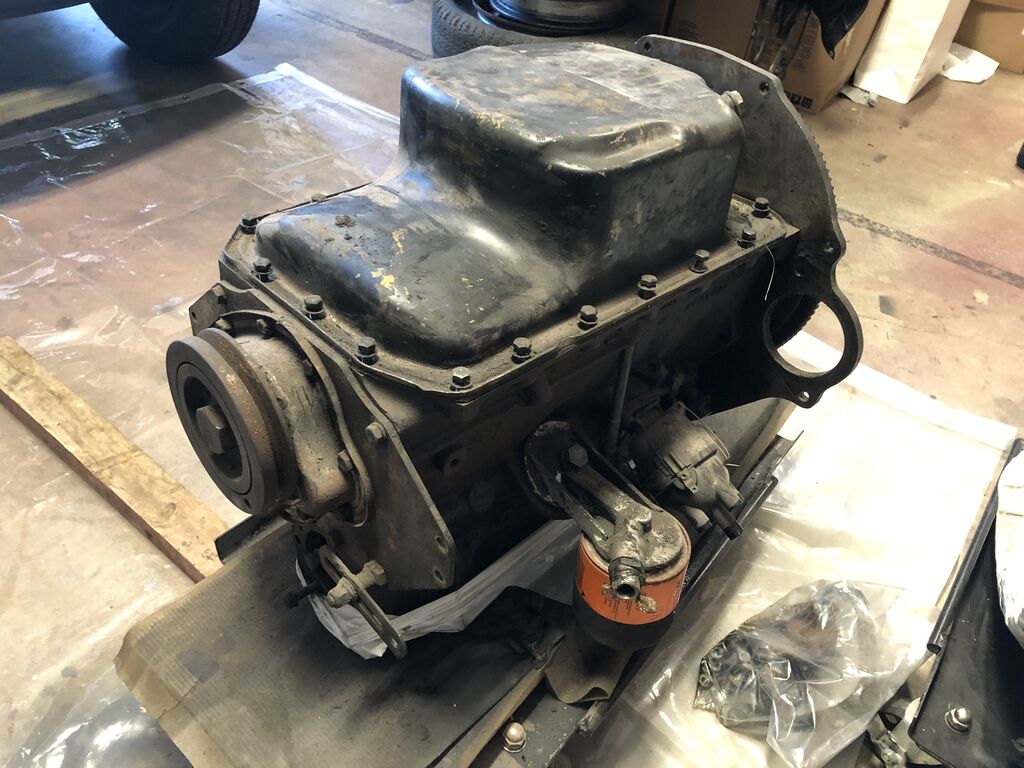
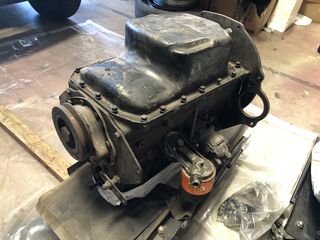
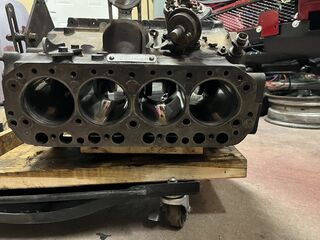
As I've documented previously, I removed the engine back in 2021. Here is the dirty object on the floor of my garage after its removal. I was working on the body at the time and it has languished, very much in the way of everything else until the last couple months. Now I can turn some attention to it!


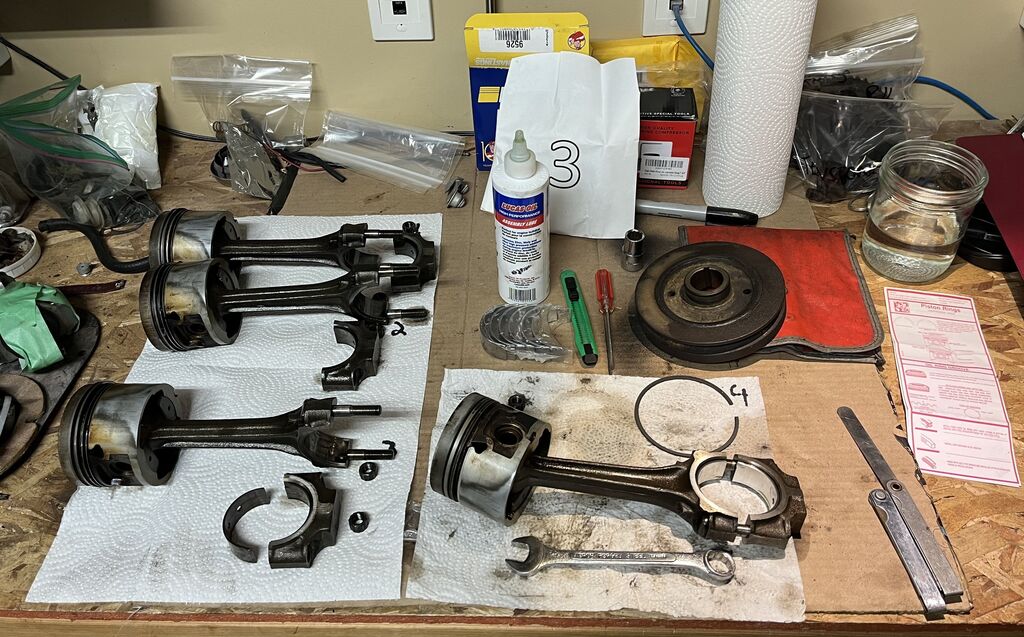
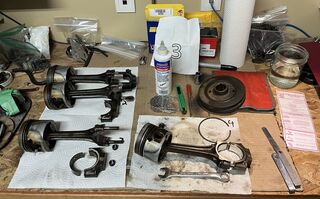
After removing the transmission from the engine and popping off the oil pan, I had to get in there and remove the pistons. Do do so first I had to get my hands on a ridge reamer... Now back in like 2012 or so my Dad gave me his old toolbox and I remember there being a ridge reamer in there. Unfortunately for me at the time I never thought I'd ever in my life be rebuilding an engine so I gave it away... Sigh... Sorry dad, I know you read these pages. So I had to save up my pennies and shell out $140 CDN for a ridge reamer at Snap-On. A good tool for my arsenal in the future anyhow. A couple of YouTube videos later and I think I've got a handle on how this works.
Here we are. After removing the lip on the cylinder walls and honing out each cylinder I now have the pistons sitting on my bench ready to be cleaned up and re-ringed. I carefully labeled each one in their order from front to back. This is important for re-assembly.
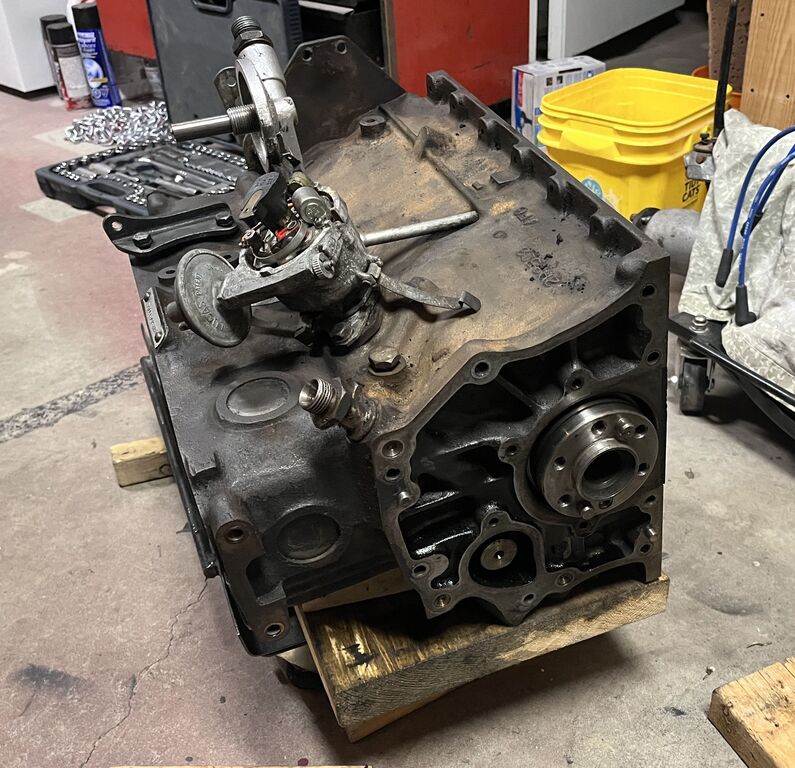
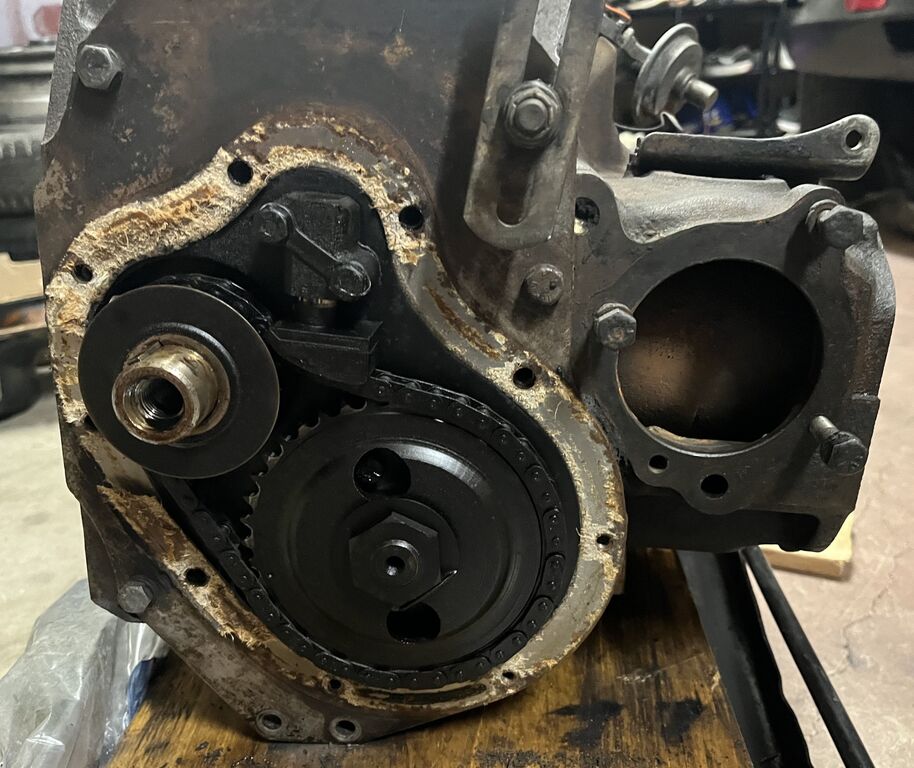
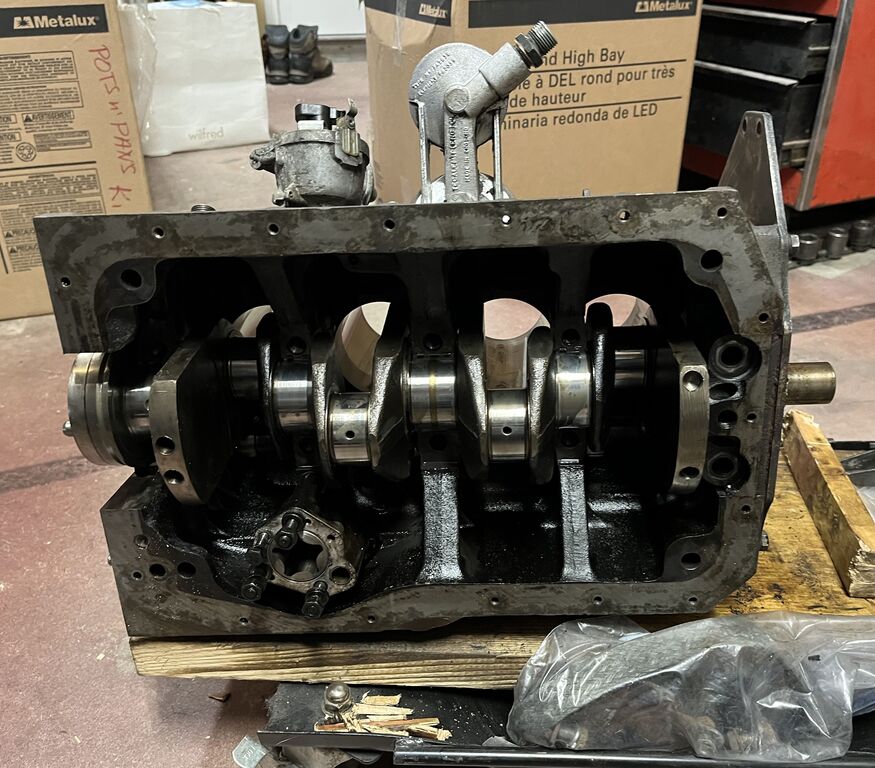
No I can remove the rest of the bits from the engine, the front and back plates... Which really means removing the clutch, flywheel, front crankshaft pulley, timing chain cover, timing chain, sprockets and tensioner. What an oily mess.


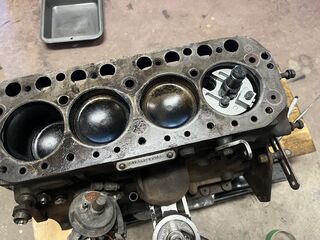
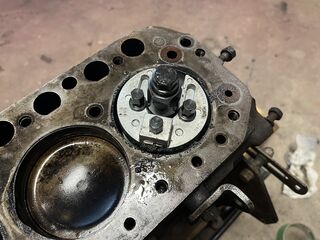
Getting there... As you can see I'm working to get the crankshaft out. The journals are stuck machined to very tight tolerances and so it took a fair bit of labour to get them out. for the middle three, I figured out there's a tapped hole in the centre of each journal that is the same size as the bolt that holds them in the engine, this allows me to get my hands some proper leverage to get the centre three out.
As for the front and rear, I used a block of wood and hammer to work them free bit by bit. The block of wood is sacrificed for the sake of the iron. Don't want to wreck anything. I've seen other methods, and the manual does tell you about an official tool that should be used, but yea, this is what I had.

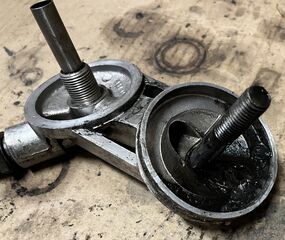
Check out this sludge on the oil filter adapter!
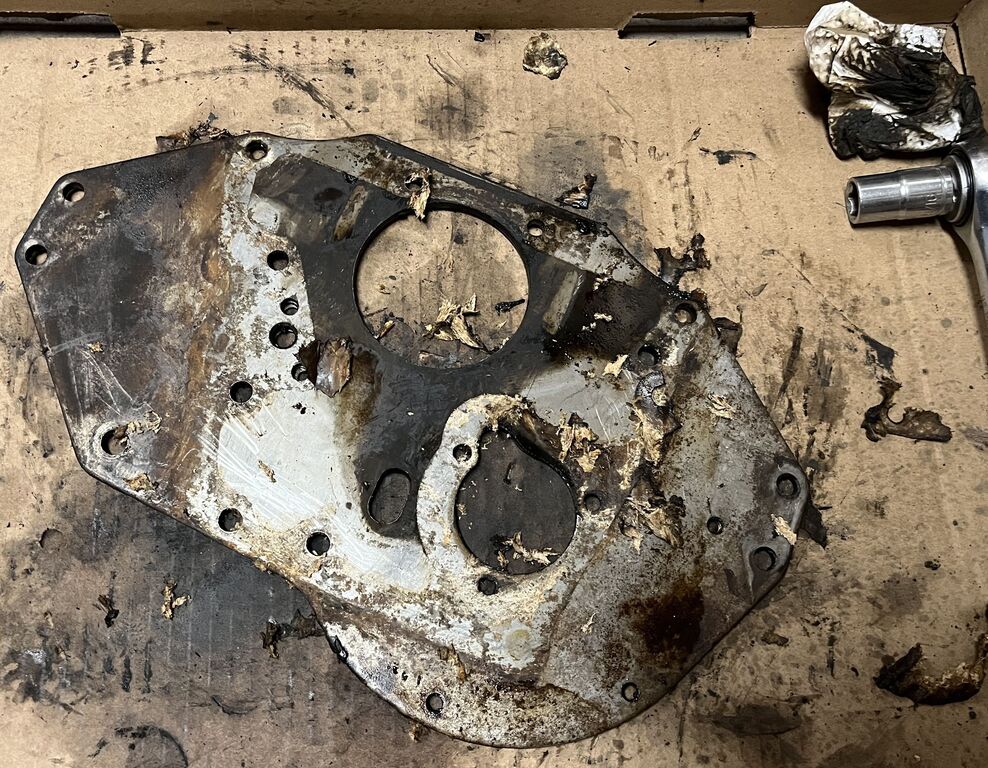
Not to mention the crap on the front and rear plates from the gaskets and everything else. I cleaned these up with some tool cleaner, a scraper and some light sanding.

On to Part II Major Engine Work Part II
Last Updated: December 21, 2022
|