Passenger Panel Damage Repair
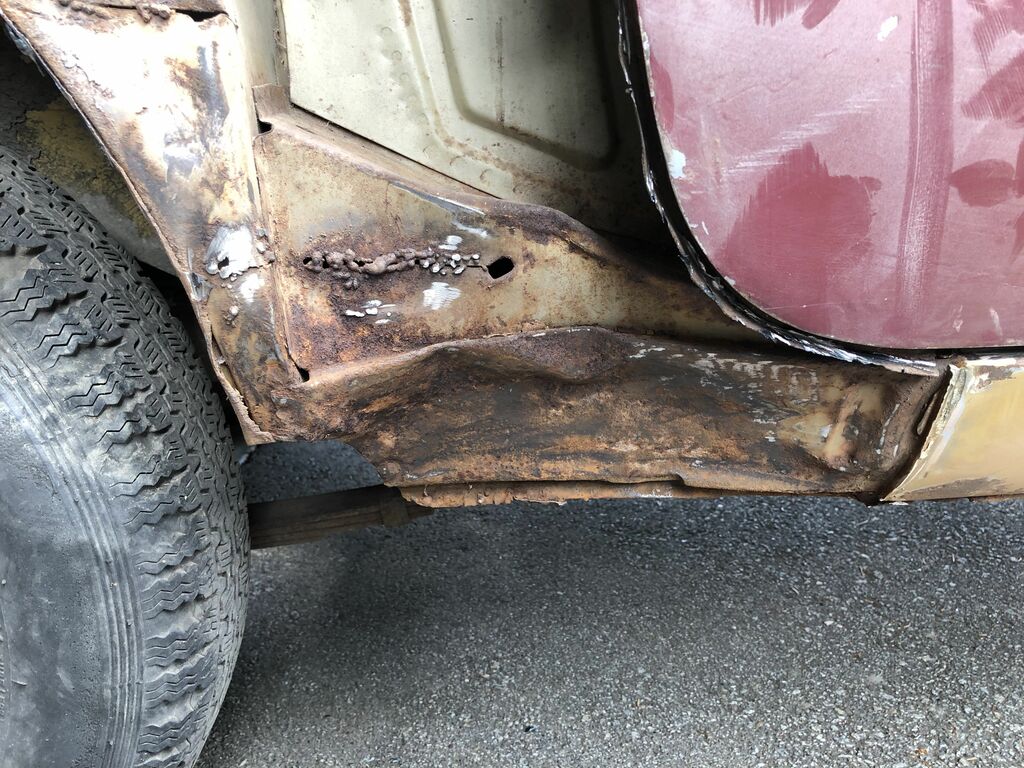
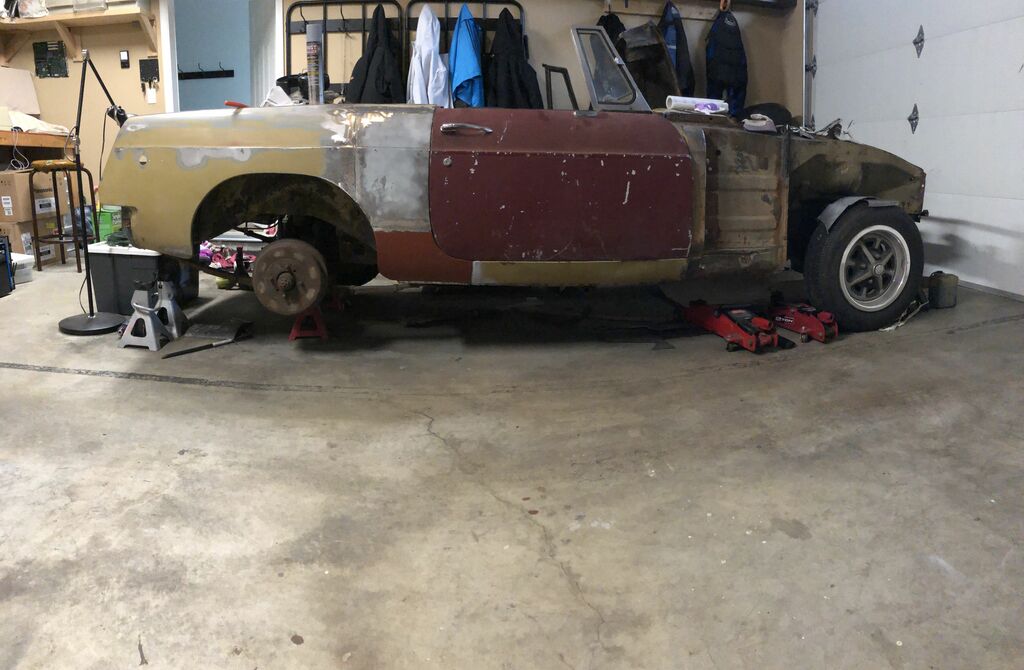
When I purchased the body shell everything looked pretty okay on the passenger side, just some bondo from a dent I thought. I stuck my phone down the inside of the panel and saw this seam and a dent from above.
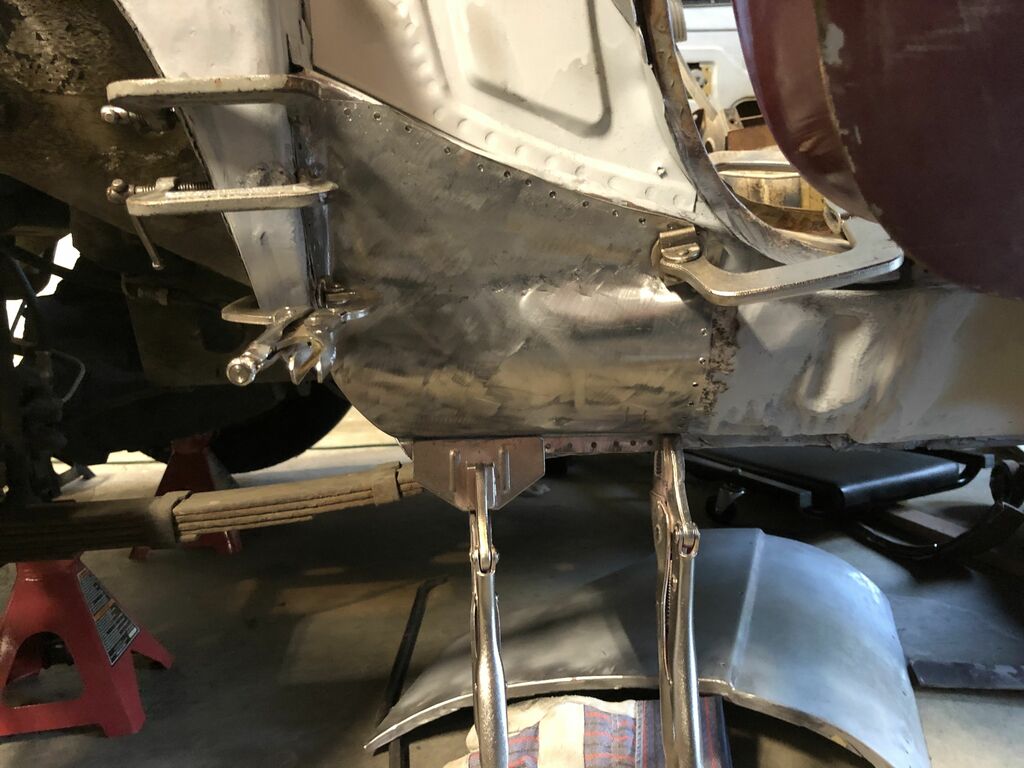
I ground away the bondo and removed the newer (but still rusty) dogleg hastily applied and found the true extent of the damage...
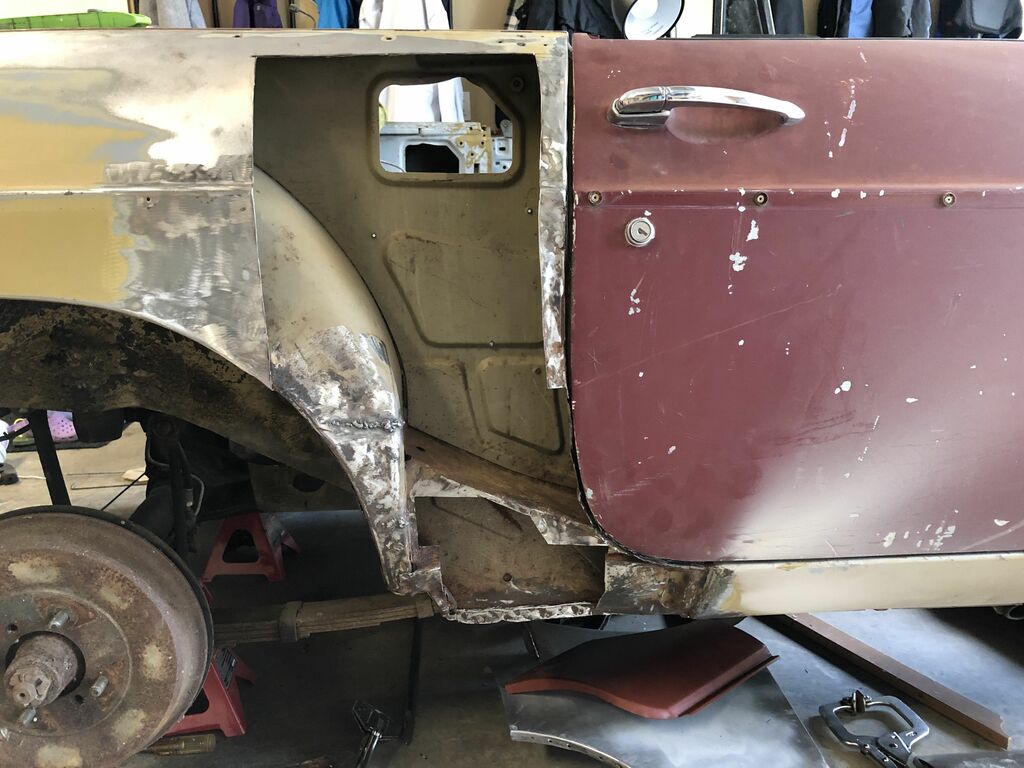
It took a fair bit of time to bash out the bent bits and cut away the rusty parts. This is what I was left with.
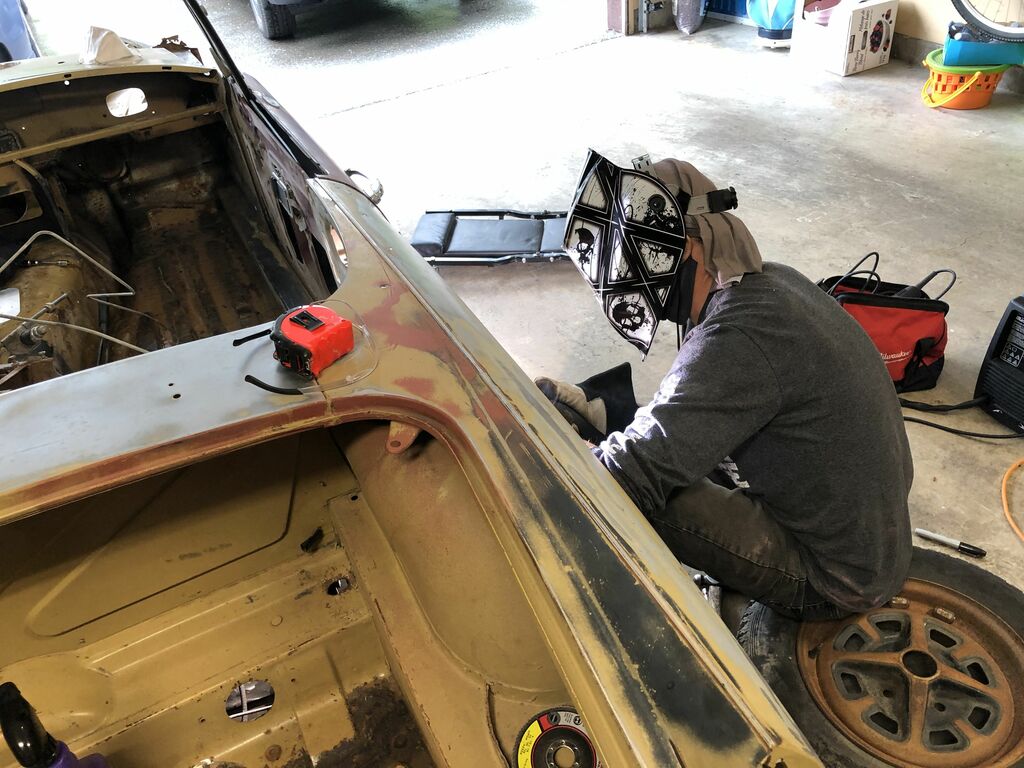
Dad came over with his welder and tried a bit of patch repair on a cut mark that was left in the side. It took me a good two months to work up the courage to try welding myself for fear of screwing up!
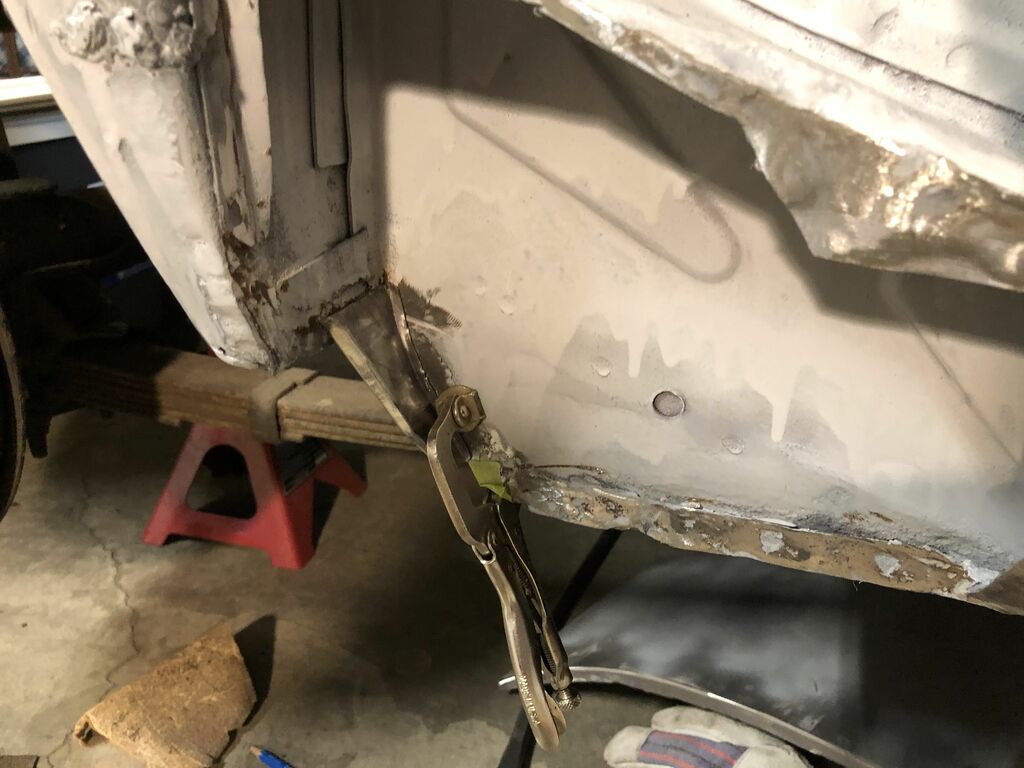
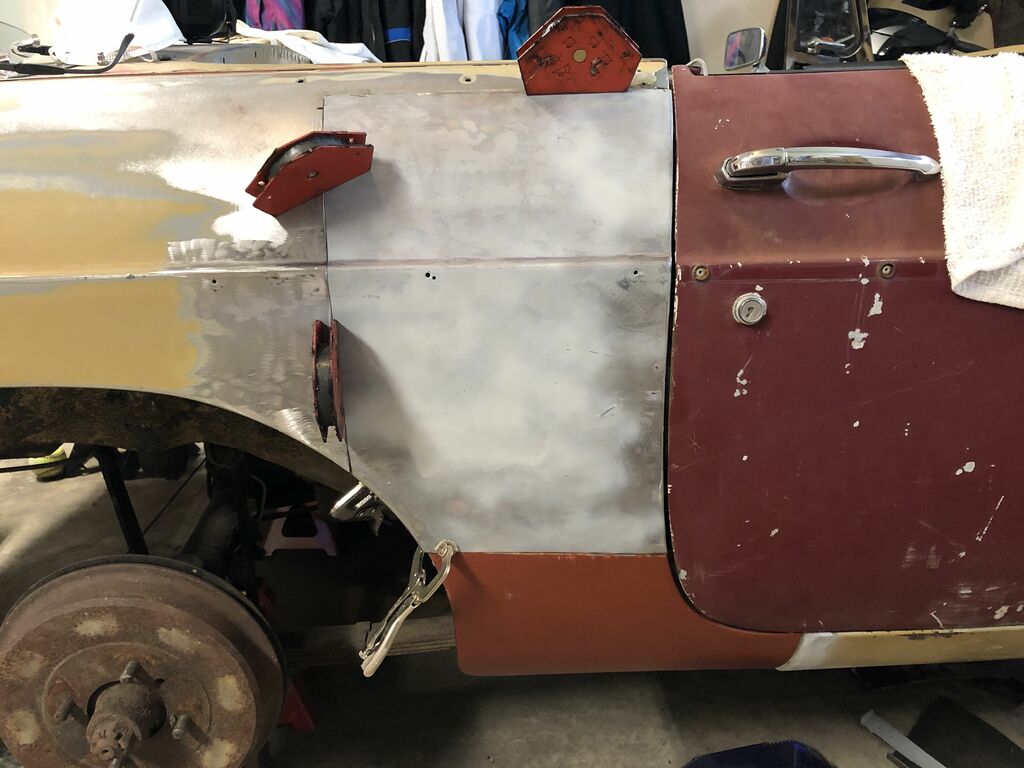
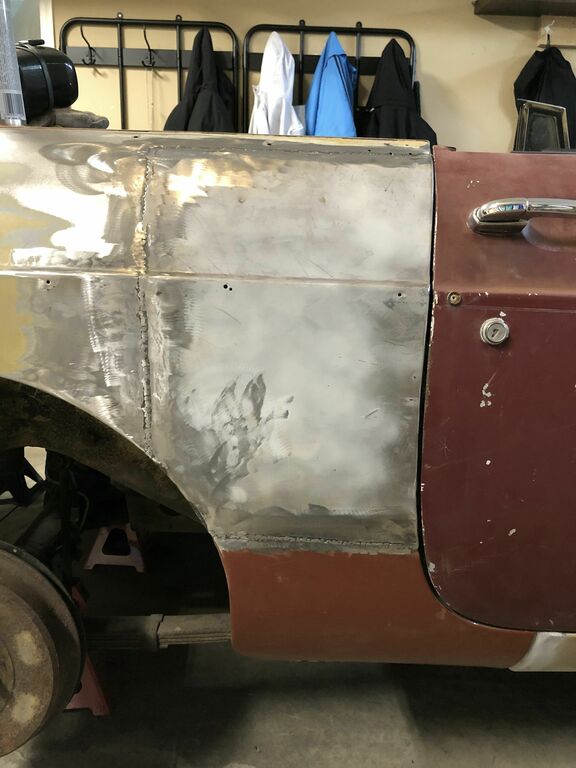
So here it goes...after grinding off most of the rust and using some primer I fashioned a new little piece from a donor panel from Rusty.
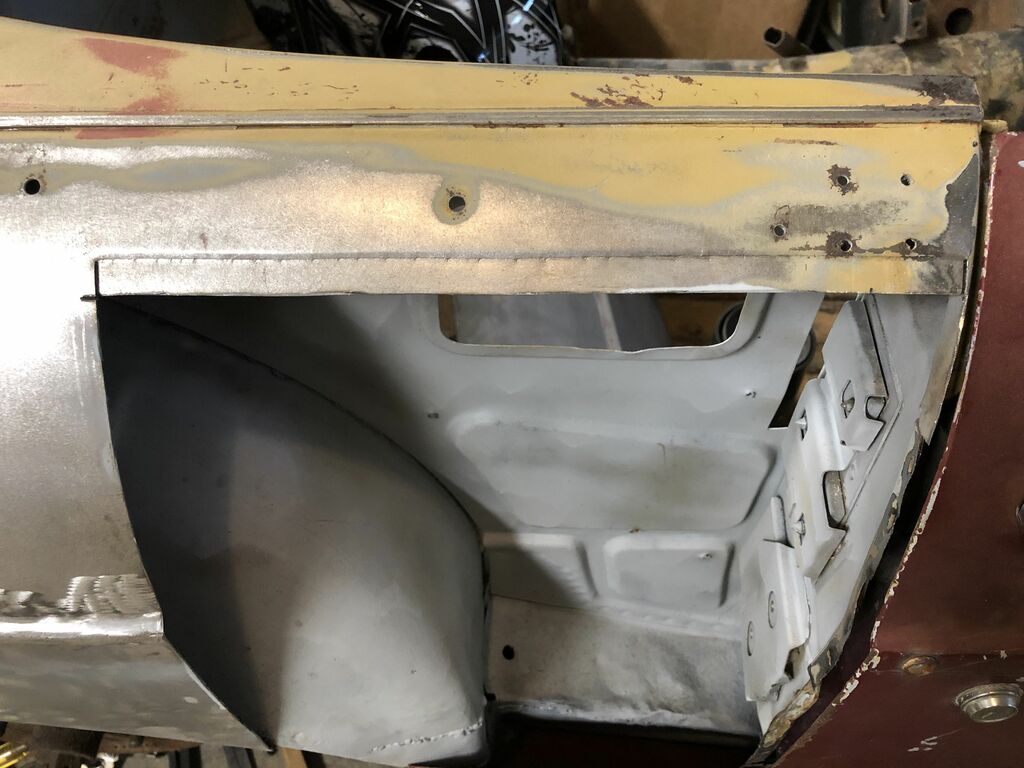
I cut off a huge section of Rusty's rear passenger panel for use on this body.
I did purchase a dogleg section from Drake's (from Moss Motors) as this was also rusted out on Rusty.
In my ignorance I purchase a joggling and punch air tool to create a little seam like this.... It was good to try, I haven't used it since this panel. I've found butting and welding seems to make a nicer stitch.
Here's the side panel from Rusty that I cut out to put on this section to finish. I cut a much larger section then I needed and then fashioned and ground down what I needed.
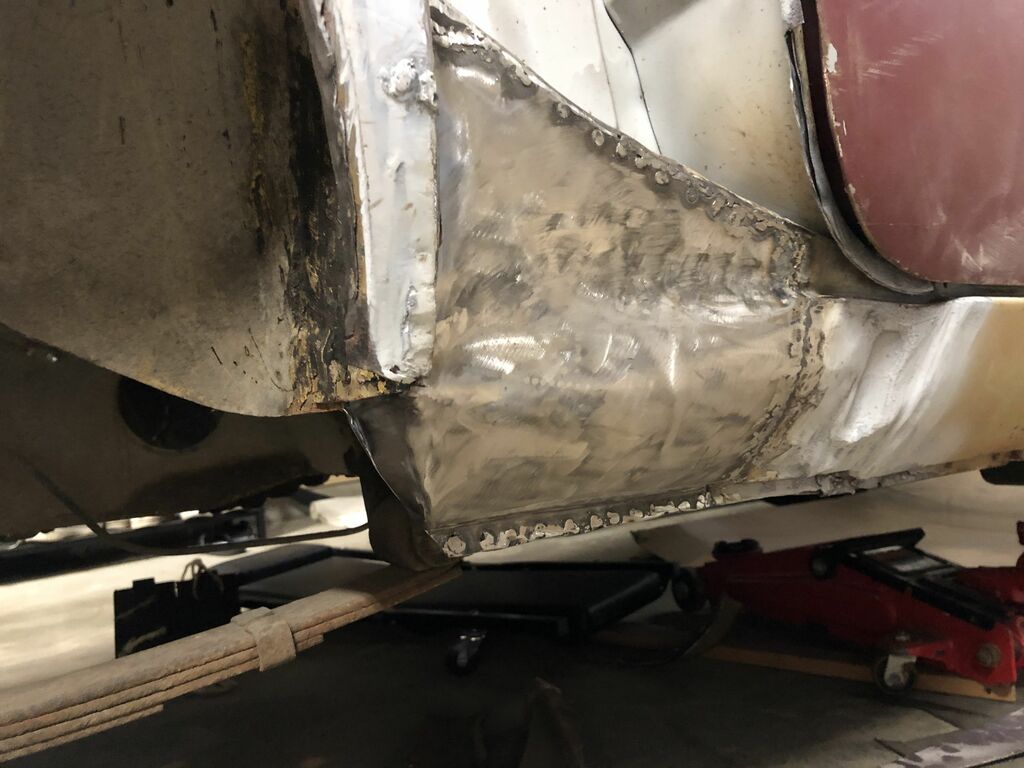
And here it is all stitched in properly. Unpainted as of yet but no longer bashed in and rusted!
Last Updated: February 22, 2021